Last updated: 5 September 2026
How to Beat the Wall of Flesh in Terraria — Summon, Arena & Strategy
The Wall of Flesh is the final pre-Hardmode boss and the point of no return. Defeat it and your world permanently transforms into Hardmode — stronger enemies, three tiers of new ores, and six more bosses between you and the endgame. Fail to prepare and the Wall will accelerate into you, hit for massive contact damage, and push you off the far edge of the map. This guide covers everything: getting the Guide Voodoo Doll, building a proper Underworld arena, and working through the Wall's layered mechanics to guarantee a clean kill.
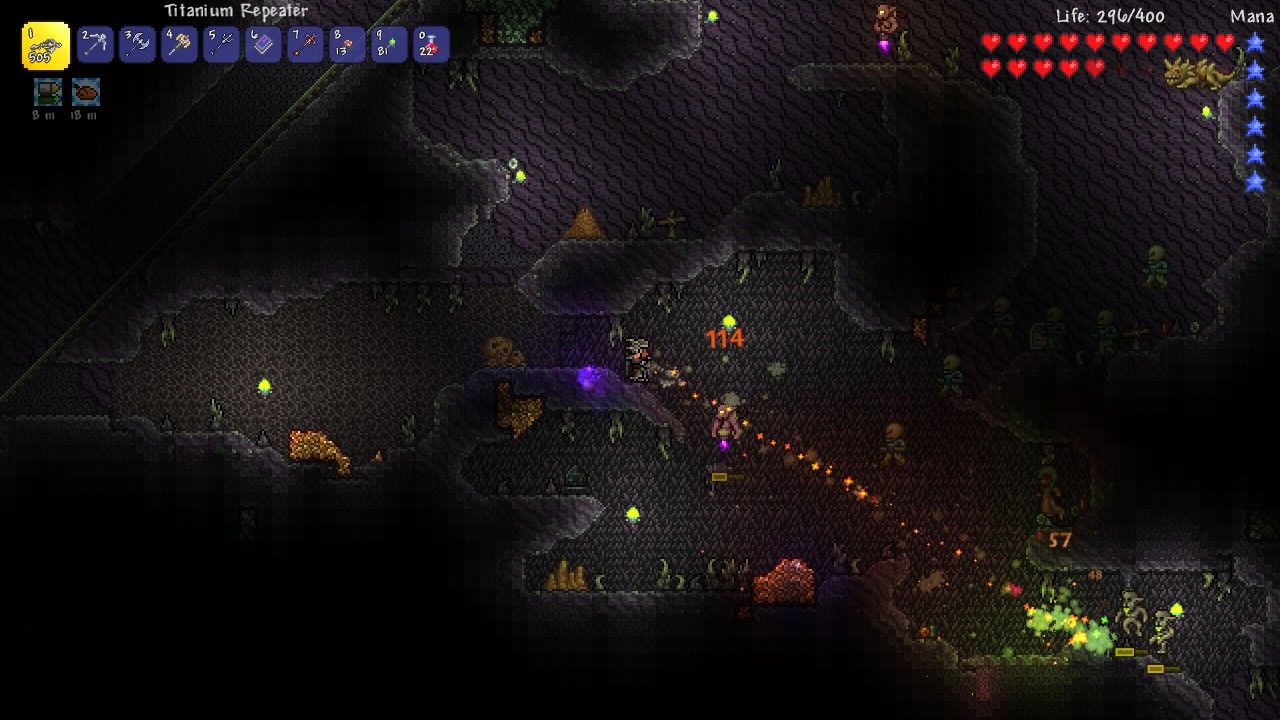
01How to Summon the Wall of Flesh
The Wall of Flesh is summoned exclusively in The Underworld by throwing a Guide Voodoo Doll into lava. Doing so sacrifices the Guide NPC — he dies instantly regardless of where he is in the world — and spawns the Wall on the nearest horizontal edge of the map. It then begins its relentless horizontal charge directly toward you.
Where to get the Guide Voodoo Doll: it drops from Voodoo Demons, a rare variant of the standard Underworld Demon. Voodoo Demons look nearly identical to regular Demons but carry a tiny voodoo doll visibly suspended below them. Kill one and the doll drops as a pick-up item. Farm several — a spare means you can retry without another full Underworld trip.
- Travel to The Underworld and build your arena bridge before hunting for the doll.
- Find and kill a Voodoo Demon over solid ground — if the doll falls directly into lava, it summons the Wall immediately, before you are ready.
- Confirm the Guide NPC is alive in your town. If he is currently dead, wait for him to respawn before throwing the doll.
- Stand at your arena starting point, activate all potions, and throw the Guide Voodoo Doll into lava.
- The Wall spawns at the nearest map edge and the fight begins — start running in the opposite direction immediately.
Spawn-side tip: summoning left of the world's centre sends the Wall in from the left, chasing you eastward. Summoning right of centre brings it in from the right, chasing you westward. Build your arena runway in the direction you will be running — the more open track ahead of you, the safer you are.
02Building the Underworld Arena
The arena is the most important preparation for this fight. The Wall accelerates as its HP drops, and if it reaches the far map edge — or catches you against an obstacle — every player in the Underworld dies instantly. A long, clear, elevated bridge is not optional.
- Length: build at least 800–1000 blocks of flat platform elevated just above the lava surface. Wooden platforms or Ash blocks both work. The Underworld spans the full world width; use as much of it as you can.
- Elevation: raise the platform two to three blocks above the lava so Eye Laser bolts fired at a slight downward angle do not clip the floor and hit you from below.
- Regen stations: place Campfires and Heart Lanterns every 30–40 blocks along the bridge. The passive HP-regen buff from both stacks and meaningfully reduces healing potion pressure during the chase.
- Honey tiles (optional): a shallow pool of Honey at the start of the bridge gives the Honey buff (+1 HP/s), which stacks on top of Campfire and Heart Lantern regen.
- Lava immunity: bring at least one Obsidian Skin Potion for lava immunity — prevents an instant kill if you fall through a gap. Terraspark Boots and Lava Waders also grant short-duration lava immunity passively.
If you have Terraspark Boots or Obsidian Skin Potions and are comfortable with mobility, you can run across the lava surface without a platform — but the campfire regen and clear line of sight from a proper bridge make every attempt more consistent.
03Pre-Fight Gear and Potions
The Wall of Flesh is the intended final challenge of pre-Hardmode. Arriving in Molten or Dungeon-tier armour with 400 maximum HP from Life Crystals and a full set of potions is the expected power level. Under-prepared players will struggle as the Wall accelerates into its final phase.
Armour by class:
- Melee: Molten Armour — the highest pre-Hardmode defence set (25 total), crafted from Hellstone Bars found in the Underworld itself.
- Ranged: Necro Armour (crafted from Dungeon-drop materials) for stacked ranged damage, or Molten Armour for raw defence if Dungeon access is limited.
- Mage: Jungle Armour for mana capacity, or Meteor Armour if using the Space Gun (zero-mana-cost synergy).
- Summoner: Obsidian Armour — strong minion bonuses plus whip damage and range improvements.
Top weapon choices per class:
- Melee: Night's Edge (crafted from four swords) deals the highest pre-Hardmode melee DPS and its wide swing arc hits multiple Wall segments simultaneously.
- Ranged: Hellwing Bow with Hellfire Arrows — the rapid-fire spread shreds the Hungry tentacles quickly. Phoenix Blaster with Meteor Shot is a reliable alternative for precision shots.
- Mage: Demon Scythe — its returning projectile can strike the Hungry, both eyes, and the mouth in a single arc, making it the highest-efficiency magic option here.
- Summoner: Imp Staff plus Vampire Frog Staff; minions attack Wall components automatically while you focus on kiting.
Essential potions — activate all of them the moment you throw the Voodoo Doll:
- Ironskin (+8 defence), Regeneration (+2 HP/s), Endurance (–10% damage taken)
- Swiftness (+25% movement speed) — critical for staying ahead as the Wall accelerates
- Obsidian Skin (lava immunity) — prevents an instant kill if you fall off the bridge
- Class-specific: Archery (ranged), Magic Power (mage), Summoning (summoner), or Wrath/Rage for a universal damage bonus
Key accessories: Lightning Boots or Spectre Boots for maximum running speed; Obsidian Shield for knockback immunity (the Wall's contact hits stagger players without it, breaking their sprint); Cloud in a Bottle or better for emergency vertical movement; any class-damage Emblem you have collected.
04Boss Mechanics — Understanding the Wall
The Wall of Flesh is a single large entity with three targetable components that all share one health pool. Each component behaves differently; understanding them determines the correct kill order.
- The Hungry: rows of small mouths extending from the front face of the Wall on flexible tendons. They physically block projectiles from reaching the eyes and mouth behind them and deal contact damage on their own. Each Hungry killed has a chance to drop a Heart for emergency healing. Priority target — clear these first.
- The Eyes (×2): two large eyes positioned near the top and bottom of the Wall. Both fire Eye Lasers — piercing bolts that track toward the player. The eyes have lower defence than the mouth, so every shot on them registers more damage. Focus eyes after the Hungry are gone.
- The Mouth: the central opening of the Wall. It has higher defence than the eyes and deals severe contact damage to anything directly in front of it. Save it for last — by the time the eyes are down, the Wall is nearly dead and the mouth finishes quickly.
- Leeches: small leech enemies that spawn from the Wall's body as its HP depletes. They home toward the player and deal moderate damage. Piercing weapons clear them passively while you continue hitting the Wall.
The Wall accelerates continuously as its health drops. On Classic Mode it reaches roughly 17 mph at critical health; on Expert Mode that figure approaches 41 mph — fast enough to catch players with inadequate boots. Never stop moving forward.
Two debuffs govern the fight: Horrified applies to any player within the Wall's contact zone, dealing continuous heavy damage — this is unavoidable when the Wall gets close. The Tongue triggers if you try to flee upward out of the Underworld — it physically drags you back toward the Wall. There is no escape once the fight starts. Win or die.
05Fight Strategy — Step by Step
With the arena built and potions active, the fight follows a clear priority sequence. Always keep moving in the direction away from the Wall — this is a chase fight, not a stand-and-tank encounter.
- Clear the Hungry immediately. Use piercing weapons (Hellwing Bow, Jester Arrows, Demon Scythe, Space Gun) to slice through all tentacles in the first 10–15 seconds. Collect any Hearts they drop — they are reliable emergency healing. Once the Hungry are cleared, your shots reach the eyes and mouth directly.
- Focus both eyes, one at a time. The eyes have lower defence — you see noticeably higher damage numbers here than on the mouth. Lock onto one eye and dump all DPS into it until it dies. Leeches that spawn during this phase are handled passively with piercing shots; do not let them break your focus.
- Kill the second eye. Same approach. With both eyes dead, incoming Eye Laser fire stops entirely, and the Wall's only remaining offensive output is Leeches and contact damage.
- Finish the mouth. The mouth has higher defence, but the Wall is near-dead by this point. Keep sprinting, keep shooting behind you if using ranged, and pour remaining damage into the mouth.
- Survive the final acceleration. The Wall reaches peak speed in its last 15–20% HP. If you have Lightning Boots or better and a clear bridge, you will outrun it. Swiftness Potion is not optional in this phase — players caught without it often die within a few hundred HP of the kill.
For melee players: the Night's Edge has enough reach to deal damage while running — swing into the Wall as it closes in, then sprint ahead again. Avoid heavy-knockback weapons; they push the Wall back slightly and waste precious DPS time.
On Expert and Master Mode, the Wall's acceleration is dramatically steeper — Expert peaks near 41 mph at critical health compared to 17 mph on Classic. This is the primary cause of Expert Mode deaths for players with a short bridge or slow boots. Clearing the Hungry and eyes faster matters even more at higher difficulties, and your bridge must be at least 1,000 blocks long to be safe.
06Drops and What Hardmode Unlocks
Defeating the Wall of Flesh gives two guaranteed item drops and permanently activates Hardmode in your world.
- Pwnhammer — drops every kill, no exceptions. This is the only tool that can destroy Demon Altars and Crimson Altars, which is required to unlock Hardmode ores underground. Do not misplace it.
- One weapon (25% each): Breaker Blade (melee broadsword with high knockback), Clockwork Assault Rifle (ranged, three-round burst), Laser Rifle (magic, continuous beam), or Firecracker (summoner whip).
- One class Emblem (25% each): Warrior, Ranger, Sorcerer, or Summoner Emblem — each grants a 15% damage bonus for its class and remains a core accessory throughout Hardmode.
- Expert Mode Treasure Bag: always contains the Demon Heart, which permanently unlocks a sixth accessory slot for your character — one of the most powerful Expert-exclusive rewards in the game.
The moment the Wall dies, Hardmode activates permanently:
- A diagonal V-shaped stripe of Corruption or Crimson and a stripe of Hallow carve through the world from the centre, converting blocks from the surface down to the Underworld.
- Hardmode enemies spawn across the world immediately — Pixies and Unicorns in the Hallow, Wyverns in the sky, and new underground threats.
- Three tiers of Hardmode ores appear underground (Cobalt/Palladium, Mythril/Orichalcum, Adamantite/Titanium), unlocked by breaking Demon Altars with the Pwnhammer.
- Evil biome spread accelerates — protect key areas with two-block-wide tunnels, or use the Clentaminator from the Steampunker NPC.
Your first Hardmode steps: mine Cobalt or Palladium, craft a Hardmode Anvil (10 bars), then build up to Mythril or Orichalcum armour before tackling any of the three Mechanical Bosses.
FAQ
How do I get a Guide Voodoo Doll?
Guide Voodoo Dolls drop from Voodoo Demons — a rare Underworld enemy that looks like a standard Demon but carries a small doll visibly suspended below it. They are uncommon, so expect to kill several dozen Underworld enemies before one appears. The key danger: if the doll lands directly in lava when the Voodoo Demon dies, it instantly summons the Wall of Flesh before you are ready. Kill Voodoo Demons over solid ground or ash wherever possible, and carry a spare doll so a failed attempt does not send you back to farming.
Does the Guide need to be alive when I throw the Voodoo Doll?
Yes. The Wall of Flesh only spawns if the Guide NPC is alive at the moment the Guide Voodoo Doll touches lava. If the Guide is currently dead and waiting to respawn, the doll simply burns up with no effect. Make sure the Guide has a valid house to return to, and wait for him to respawn before summoning if needed.
What happens if I don't build an arena?
Without a clear runway you will run into Underworld obstacles — lava pools, Ash blocks, Ruined Houses — and the Wall will catch you. Contact with the Wall's body deals massive damage and applies the Horrified debuff, which ticks heavy continuous damage. You can technically beat the Wall without a purpose-built bridge if you have Terraspark Boots (lava immunity) and top-tier gear, but any obstacle between you and the far edge is a potential death. A long flat bridge removes the biggest source of avoidable deaths and makes every retry faster.
What happens if the Wall of Flesh reaches the edge of the map?
If the Wall reaches either horizontal world boundary without being killed, it despawns and every player in the Underworld is instantly killed — the death message reads '
Is it better to fight the Wall of Flesh on the left or right side of the world?
It makes no mechanical difference — what matters is how much bridge you have ahead of you. The Wall spawns on the nearest map edge and chases you toward the opposite one. Summon it on whichever side your arena begins on and run toward the far side. If you have the whole Underworld bridged, start from whichever side feels natural.
What does Expert Mode change about the Wall of Flesh?
Expert Mode significantly increases the Wall's maximum speed — it approaches 41 mph at critical health versus roughly 17 mph on Classic — deals more contact damage, and spawns Leeches more aggressively. The fight rewards an Expert Treasure Bag containing the Demon Heart, which permanently adds a sixth accessory slot to your character. On Master Mode the Wall is faster still and deals 1.5× Expert damage. In all higher-difficulty modes, bridge length and boot quality matter far more than on Classic.
Can I fight the Wall of Flesh in a small world?
Yes, but a small world has a narrower Underworld — its total accessible width is roughly 4,000 blocks, which is your maximum possible bridge length. On Classic Mode that is still plenty of space. On Expert and Master Mode the Wall's higher speed means the fight ends faster — either you kill it quicker or it catches you. Clearing the Hungry and focusing the eyes as fast as possible matters more in small worlds to prevent the Wall from reaching full acceleration before it runs out of map.
Sources
Where the facts on this page were checked. If one of them now says something different, we want to know — tell us and we will fix the guide.
- Wall of Flesh Official Terraria Wiki (wiki.gg)
New & updated guides ship every week. Follow the Atom feed or get notified when new Terraria guides land.