Last updated: 5 September 2026
Subnautica 2 Blueprint Fragments — Where to Scan Every Key Blueprint
Standing at a Fabricator with a half-built blueprint still waiting for one more fragment scan is one of the most common progression blockers in Subnautica 2. The ocean is full of wreckage and Pioneer Seabases, but without knowing which site holds which fragment, you can spend an hour swimming circles at the wrong depth. This guide covers how the fragment scanning system works, then breaks down confirmed locations for major blueprint categories — vehicles, essential tools, and base modules — with biome notes and depth ranges so you can stop wandering and start building. Subnautica 2 is still in active Early Access, so treat exact spawn points as a strong starting reference rather than a guarantee — check the official Subnautica 2 wiki if a fragment isn't where this guide places it.
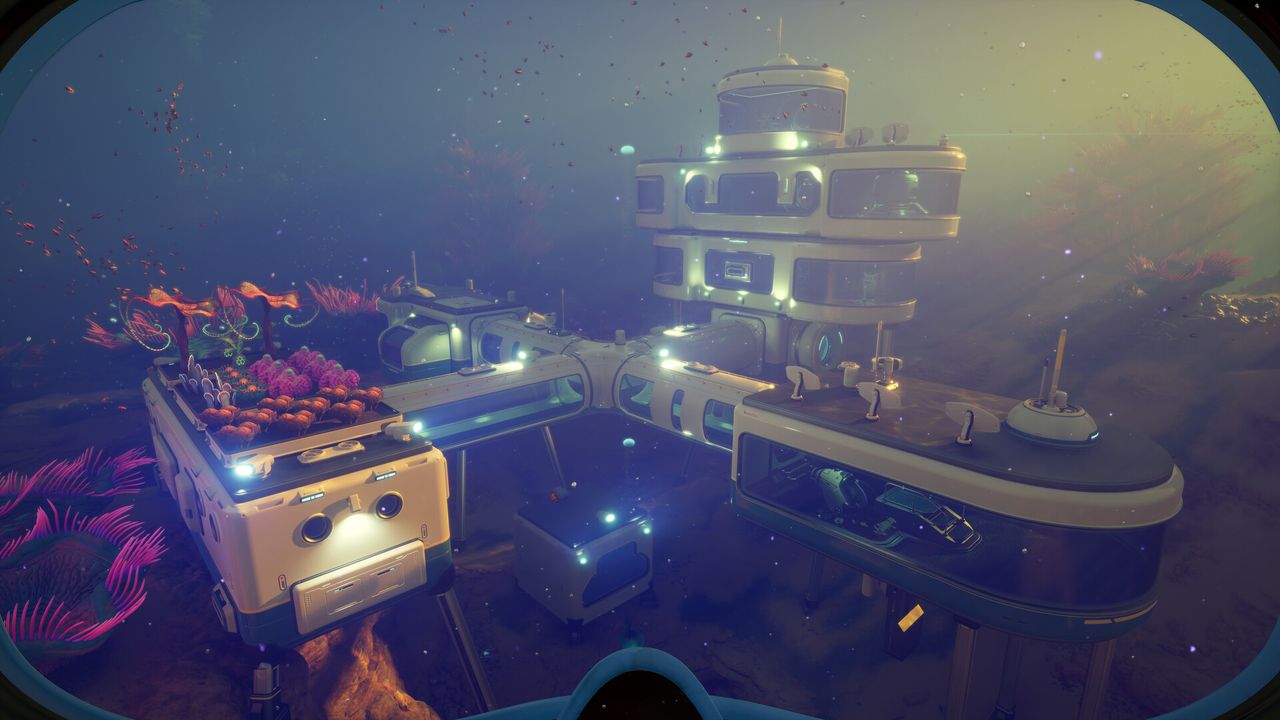
Most blueprints need 2–3 fragment scans; vehicle blueprints generally need 3, though the Scout Ray Chassis needs just 1. Your highest-priority scan is the Habitat Builder — fragments sit right around the Welcome Center, only a shallow dive southeast of your lifepod. Tadpole fragments are spread across 12+ spawns at depths of 35–150 m, with easy early clusters around the Colonist Bunker and the Lander Garage wreck. Scanning extra fragments beyond the unlock requirement gives you free bonus crafting materials — never skip one you stumble across.
01How Blueprint Fragment Scanning Works
Blueprints in Subnautica 2 unlock in a few ways: automatic unlock when you first pick up a specific material (for basic recipes), story triggers (for plot-critical items), occasionally a Recipe Data Card you can pick up directly, and fragment scanning — the system this guide focuses on.
Fragment scanning works like this: fragments are broken, degraded pieces of equipment scattered throughout the world at wrecks, Pioneer Seabases (pre-existing colonist habitats), underwater caves, and biome POIs. Approach a fragment and hold the scan input with your Scanner tool to analyse it. Once you have scanned the required number of fragments for a given blueprint, the recipe permanently unlocks in your Fabricator or Vehicle Fabricator.
- Most blueprints require 2–3 fragments. Vehicle chassis blueprints are usually 1 or 3 depending on the chassis; base modules and tools are typically 1–3.
- Extra scans give bonus resources. Scanning a fragment after the blueprint is already unlocked gives you free crafting materials instead of nothing. Never pass up a visible fragment just because you think you have the blueprint.
- You need the Scanner tool to scan fragments — this is the handheld tool, not the Scanner Station base module. Craft it from your escape pod Fabricator as one of your very first items.
Early Access note: Subnautica 2 is a live game. Fragment spawn locations and unlock requirements have already changed between updates — the Repair Tool, for example, dropped from 3 required fragments to 2 in a past patch. If a fragment isn't where you expect it, check the official Subnautica 2 wiki (wiki.subnautica.com/sn2) or the current patch notes before assuming this guide is wrong.
02Vehicle Blueprints — Tadpole, Scout Ray Chassis, Haul Chassis
Vehicle blueprints unlock items built exclusively at the Vehicle Fabricator inside your Moonpool. See the Vehicles Guide (linked below) for the full Moonpool setup and crafting walkthrough — this section focuses on where to find the fragments.
Tadpole (3 fragments required)
The Tadpole has the most spread-out fragment pool of any blueprint — 12 documented spawn locations across the map, at depths ranging from 35 m to 150 m. You only need to scan 3 of those 12 to unlock the blueprint. The most accessible early clusters are:
- Colonist Bunker, southwest of the lifepod (~88 m depth). One fragment on the west side of the bunker. The bunker is also a story objective, so you'll likely pass through it anyway — this is the single best first Tadpole fragment stop.
- Lander Garage wreck zone, east of the lifepod (~65 m depth). Fragments in and around the wreck interior; a second fragment also spawns north of the wreck at ~45 m.
- Tadpole Pens facility (~150 m depth). Two fragment spawns at and around this facility — one exterior, one docked inside. Deeper than the first two options, so save it for after an O₂ upgrade.
- Plateaus northeast of the Old Habitat (~35 m depth). The shallowest documented Tadpole fragment.
- Beneath the Great Jaw formation (~125 m depth). A prominent mid-depth landmark that makes this fragment easy to relocate once you're exploring that range.
Recommended route: head to the Colonist Bunker first (story overlap), then sweep the Lander Garage wreck — you'll almost certainly find all 3 fragments between those two sites. Every second and third Tadpole fragment you scan also progresses the Moonpool and Vehicle Fabricator unlocks — see the Moonpool section below.
Scout Ray Chassis (1 fragment required)
Only a single scan is needed to unlock the Scout Ray Chassis. The fragment is found by scanning the chassis fitted to the docked Tadpole inside the Tadpole Pens facility — the same POI where two of the Tadpole's own fragments spawn, so it's an easy add-on to that trip.
- Once scanned, craft the chassis at the Vehicle Fabricator: 2× Plasteel Ingot, 1× Advanced Wiring Kit, 1× Dedicated Core, 1× Strong Acid.
- The Scout Ray raises the Tadpole's top speed to around 10 m/s with improved acceleration and turn rate, via a pair of folding wings — it's the go-to configuration for fast solo exploration. The wings widen the vehicle noticeably when deployed but fold away otherwise.
Haul Chassis (3 fragments required)
Haul Chassis fragments are spread across several far-out, mid-to-late-game POIs rather than one single site — you only need 3 of the 5 documented spawns:
- Karakorum Metal Farms, southwest side (~465 m depth)
- Stairway to Heaven, south side (~205 m depth)
- Needler Nest interior (~290 m depth)
- Therapy Room wreck exterior (~220 m depth)
- Near the Axum Vision Angel Comb (~455 m depth)
- The Haul Chassis reconfigures the Tadpole for cargo capacity, expanding seating to four total players — it's the co-op freight build.
- Craft it at the Vehicle Fabricator once unlocked: 4× Titanium Ingot, 3× Strontium, 3× Enameled Glass, 1× Dedicated Core.
03Essential Tool Blueprints — Habitat Builder, Flashlight, Repair Tool, Sonic Resonator
These tool blueprints unlock some of the most critical early-to-mid-game gear. Most of their fragments are concentrated relatively close to the starting area, at depths reachable before you have a vehicle.
Habitat Builder (2 fragments — highest priority)
Without the Habitat Builder you cannot construct a base, which means no stable oxygen anchor, no storage, and no base-mounted crafting stations. Scan these fragments before anything else that requires exploring new biomes.
- Two of the closest spawns are right at the Welcome Center: one just outside at around 9 m depth, and one underneath it at around 16 m.
- A dozen fragments are documented in total, scattered around nearby Shallows Wrecks and other POIs within a couple hundred metres of the Lifepod, so you don't need to travel far to find your 2.
Flashlight (2 fragments)
Essential for navigating unlit caves, deep wrecks, and night dives. Two of the easiest confirmed spawns:
- Shallows Wreck 3, around 9 m depth.
- A cave directly below your Lifepod, around 35 m depth.
- Ten fragment locations are documented in total (several inside other Shallows wrecks and nearby caves), so a thorough early sweep of any wreck will often turn up both scans before you go looking specifically.
Repair Tool (2 fragments)
The Repair Tool is required for fixing damaged equipment and accessing certain locked or sealed POIs. Note that this requirement was reduced from 3 fragments to 2 in a past patch — older guides may still say 3. Two confirmed spawns:
- Coral Dome, around 95 m depth, directly above the Hot Cave Basecamp.
- Quaker's Meetinghouse, around 42 m depth.
- The official wiki classifies Repair Tool fragments more broadly as appearing in 'wrecks and Pioneer Seabases' — around a dozen spawns are documented in total, so any significant ruin POI you pass is worth scanning.
Sonic Resonator (2 fragments)
The Sonic Resonator is what lets you break the toughest Resource Deposits (see the Best Early Resources guide) and certain blocked geological formations. Two of the fastest-to-reach spawns:
- The Old Habitat has two fragments on its own, at around 55 m depth — either one counts toward your 2.
- The Spider Dome POI is another documented spawn if you'd rather take a different route.
- 11 fragment locations exist in total, spread from shallow wrecks to a 305 m spawn near the Karakorum Power Plant — you don't need to go anywhere near that deep for your first 2.
- Recipe once unlocked: 2× Titanium Ingot, 2× Lead, 1× Wiring Kit, 1× Basic Battery.
04Base Module and Power Blueprints
Several base modules and power systems aren't available from the start — and the Moonpool in particular doesn't work quite like the other tool blueprints.
Moonpool
The Moonpool must be built before you can construct any vehicle — it houses the Vehicle Fabricator and provides the docking bay. Rather than its own dedicated fragment type, it's unlocked by scanning Tadpole fragments: your second Tadpole fragment scan unlocks the Moonpool, and your third unlocks both the Vehicle Fabricator and the Tadpole itself. So the Tadpole-fragment run described above (Colonist Bunker, then Lander Garage) also gets you the Moonpool along the way.
Alternatively, you can skip scanning entirely and pick up a Recipe Data Card for the Moonpool directly — documented locations include the Tailings Village, the Tadpole Pens, and the Canteen area of the Cicada Wreck.
Rebreather (1 fragment)
The Rebreather reduces your oxygen consumption rate, extending effective dive time. Only one fragment is needed, and two of its five documented spawns line up with stops you're already making for the Tadpole: the Colonist Bunker (~88 m, Dolerite Spires) and the Lander Garage wreck (~50 m — this particular fragment needs the Repair Tool to reach). Other confirmed spawns sit near Necrolei Hills, east of the Great Jaw, and inside the Empty Hold wreck.
Bioreactor (3 fragments)
The Bioreactor converts organic matter — including the Acidic Raion Pouches covered in the Best Early Resources guide — into power, and is a strong mid-game energy solution for bases far from surface solar access. The official wiki describes its fragments as appearing 'in Quaker's Meetinghouse, the Empty Hold, or scattered debris'; confirmed named spawns include:
- The Old Habitat (~55 m depth) — combine with a Sonic Resonator scan run to the same POI.
- The Lander Garage wreck area (~70 m depth, with a second nearby spawn southwest of it) — the same zone you'll already be sweeping for Tadpole fragments.
- Quaker's Meetinghouse (~40 m depth).
Bioscanner and Late-Game Blueprints
The Bioscanner is a deeper-water blueprint found at a large wreck site well east of your starting area. Its exact fragment location has shifted between Early Access updates — the official Subnautica 2 wiki is the most reliable current source for exact directions, so check there rather than relying on any single guide (this one included).
05Tips for Efficient Fragment Hunting
Fragment hunting is dramatically faster when treated as systematic biome sweeps rather than one-at-a-time targeted searches. These habits cut the time spent searching in half:
- Scan compulsively. Treat every piece of wreckage as a potential unknown recipe. Scanning habitually in the first two hours will unlock blueprints before you know you need them, saving you a return trip.
- Plan compound sweeps. Many fragments are co-located at the same POI. The Colonist Bunker and Lander Garage cover Tadpole, Moonpool progress, and (at Colonist Bunker) a Rebreather fragment in one route; the Old Habitat covers Sonic Resonator and Bioreactor fragments together; the Tadpole Pens covers Tadpole and Scout Ray Chassis fragments in the same dive.
- Scan extras for free materials. Once a blueprint is unlocked, every additional scan of that fragment type gives crafting materials instead of nothing. Never skip a visible fragment just because you already have the blueprint.
- Use the Scanner Station once you have one. It surfaces resources, wrecks, and anomalies within its 300 m radius — useful for relocating a wreck you remember but can't quite find again.
- Work the shallow-to-mid depth band first. Most of the fragments covered above sit between roughly 9 m and 95 m. Save the 200 m+ spawns (Haul Chassis, the deep Sonic Resonator fragment near Karakorum Power Plant) for once you have better dive support.
- Keep the EA caveat in mind. Subnautica 2 is in active Early Access development, and fragment counts have already changed once (Repair Tool went from 3 to 2). If a fragment isn't where this guide or any community guide places it, check the official Subnautica 2 wiki, which is updated after each patch.
FAQ
How many fragments do I need to scan for each blueprint in Subnautica 2?
It varies by blueprint. The Tadpole needs 3 scans, the Scout Ray Chassis needs only 1, and the Haul Chassis needs 3. Among tools, the Habitat Builder, Flashlight, Repair Tool, and Sonic Resonator each need 2, while the Rebreather needs just 1 and the Bioreactor needs 3. The Moonpool doesn't use its own fragment type at all — it unlocks from your second Tadpole fragment scan, or from a Recipe Data Card. Scanning more fragments than required always gives free crafting materials instead of nothing.
Where do I find Tadpole fragments in Subnautica 2?
Tadpole fragments are spread across 12 documented spawn locations at depths of 35–150 m. The easiest early targets are near the Colonist Bunker (southwest of the lifepod, ~88 m depth) and the Lander Garage wreck zone (east, ~65 m depth). You only need to scan 3 of the 12 spawns to unlock the blueprint, and your second and third scans also progress the Moonpool and Vehicle Fabricator unlocks.
Where is the Habitat Builder blueprint in Subnautica 2?
Habitat Builder fragments are documented at around a dozen sites, with two of the closest right at the Welcome Center — one just outside at around 9 m depth, and one underneath it at around 16 m. You only need 2 scans, and this should be your first-priority blueprint, since you can't build a base without it.
How do I get the Scout Ray chassis blueprint in Subnautica 2?
The Scout Ray Chassis blueprint requires just one scan: the chassis fitted to the docked Tadpole inside the Tadpole Pens facility. Once unlocked, craft it at the Vehicle Fabricator with 2 Plasteel Ingots, 1 Advanced Wiring Kit, 1 Dedicated Core, and 1 Strong Acid. It raises the Tadpole's top speed to around 10 m/s with improved acceleration and turn rate.
Where are the Sonic Resonator fragments in Subnautica 2?
You need 2 of 11 documented fragments. The Old Habitat alone has two, at around 55 m depth, so a single trip there covers your requirement. The Spider Dome POI is another confirmed spawn if you'd rather take a different route. Deeper spawns exist (down to around 305 m near the Karakorum Power Plant), but you don't need to go anywhere near that depth for the first 2 scans.
What happens if I scan a blueprint fragment I already unlocked in Subnautica 2?
Scanning a fragment for a blueprint you've already fully unlocked rewards you with free crafting materials instead of nothing. There's no downside to scanning every fragment you see — even redundant scans give you something useful. This also means clearing a wreck completely is always worth doing, even if you only needed one more fragment from it.
Sources
Where the facts on this page were checked. If one of them now says something different, we want to know — tell us and we will fix the guide.
- Subnautica 2 Wiki — Blueprints wiki.subnautica.com
- Subnautica 2 Wiki — Tadpole wiki.subnautica.com
- Subnautica 2 Wiki — Habitat Builder wiki.subnautica.com
- Subnautica 2 Wiki — Flashlight wiki.subnautica.com
- Subnautica 2 Wiki — Repair Tool wiki.subnautica.com
- Subnautica 2 Wiki — Sonic Resonator wiki.subnautica.com
- Subnautica 2 Wiki — Moonpool wiki.subnautica.com
- Subnautica 2 Wiki — Rebreather wiki.subnautica.com
- Subnautica 2 Wiki — Bioreactor wiki.subnautica.com
- Subnautica 2 Wiki — Scout Ray Chassis wiki.subnautica.com
- Subnautica 2 Wiki — Haul Chassis wiki.subnautica.com
- Subnautica 2 Early Access Roadmap Unknown Worlds
New & updated guides ship every week. Follow the Atom feed or get notified when new Subnautica 2 guides land.