Last updated: 28 September 2026
Slay the Spire 2 Act 3 Boss Guide Beat Every Boss
Act 3 is where Slay the Spire 2 runs succeed or fail. The enemies hit harder, the patterns are more complex, and the three possible boss encounters — The Queen, Test Subject, and Aeonglass — each test a different aspect of your build. This guide covers all three bosses' attack patterns, their most dangerous windows, and the strategies that work for every character. Note that Slay the Spire 2 is in Early Access and boss mechanics can change with patches — cross-check the official wiki for your current version.
01Act 3 General Preparation
Before engaging any Act 3 boss, make sure you've completed these steps during Act 3's map:
- Have at least one upgraded key card. Upgraded Defend (8 Block instead of 5), upgraded Whirlwind, or upgraded Demon Form all make a meaningful difference in boss fights. If you haven't upgraded your most important card, prioritise a campfire Smith over a heal unless your HP is critical.
- Carry at least two potions. Potions are most impactful against bosses. An Explosive Potion (deal 10 damage to all enemies), a Strength Potion (+5 Strength for the combat), or a Block Potion can decide a fight. Don't enter Act 3 with an empty potion slot.
- Understand your deck's kill speed. If you can deal 100+ damage in a single turn with your combo, prioritise offensive potions. If your deck is slow and grinds through Block loops, defensive potions and HP are more valuable.
- Check for Relic synergies with the boss patterns. Some relics (like Bag of Marbles, which applies Vulnerable at combat start) have outsized value against high-HP bosses since the Vulnerable lasts many turns.
02Boss 1: Test Subject
Test Subject is a three-phase revival boss. It refuses to die at 0 HP in phases 1 and 2 — instead it immediately comes back with more HP and a new modifier. Each phase transition clears all its status effects, so debuffs you applied do not carry over.
Phase 1 (100 HP) — Enrage:
- Test Subject gains 2 Strength every time you play a Skill card. This escalates fast — three Skills in a single fight can push it to 6 extra Strength on all attacks.
- Counter: In Phase 1, play Attacks and Powers instead of Skills to slow Strength accumulation. Block is less critical here because Phase 1 attacks (Bite: 20 damage; Skull Bash: 14 + Vulnerable) are manageable without investing heavily in Skills.
- If your deck is heavy on Skills (Exhaust builds especially), consider potions or aggressive burst to kill Phase 1 quickly before Enrage stacks up.
Phase 2 (200 HP) — Painful Stabs:
- Any damage you take that is not blocked shuffles a Wound into your discard pile. Wounds are unplayable cards that clog your hand and deck for the remainder of the fight.
- Counter: Block everything in Phase 2. This is the phase where defensive cards are most valuable — an unblocked hit of 10 damage is less threatening than the deck pollution from Wounds. Multi-Claw (10 damage ×3, with the hit count increasing each use) is the dangerous attack; Block before it fires.
- Strength Potions and burst damage are useful here to end Phase 2 before Multi-Claw starts adding hits.
Phase 3 (300 HP) — Nemesis (Intangible):
- At the end of every other turn, Test Subject gains Intangible (all damage reduced to 1 until your next turn). This phase cycles through three attacks: Lacerate (three lighter hits), Big Pounce (a single 45-damage haymaker), and Burning Growl (shuffles Burn cards into your deck and grants it additional Strength).
- Counter: Save your highest-damage burst (Heavy Blade combos, Doom execution threshold) for turns when Intangible is not active. On Intangible turns, focus on building Block and playing zero-cost cards. If you have multi-hit attacks, even 1 damage per hit adds up across many hits on Intangible turns.
03Boss 2: The Queen
The Queen is found in the Glory area and fights alongside her minion, the Torch Head Amalgam. This is the most mechanically complex of the three Act 3 bosses because it is a two-enemy fight with a powerful restriction mechanic.
The Queen's Mechanics:
- Chains of Binding — The Queen's signature ability restricts you to playing only one of the first three cards drawn on that turn. This is devastating if it hits a turn where you needed all three cards to set up Block or deal lethal damage. Plan around this by having 0-cost cards that don't 'waste' a restricted slot.
- You're Mine (Frail, Weak & Vulnerable) — The Queen's opening ability applies 99 stacks each of Frail (reduces Block gained by 25%), Weak (reduces Attack damage dealt by 25%), and Vulnerable (you take 50% more damage from attacks) to your whole party. At 99 stacks these last effectively the entire fight — the Vulnerable stack is easy to overlook next to Frail and Weak, but it directly increases every hit you take, so budget extra HP buffer for it, not just adjusted Block/damage math.
- Torch Head Amalgam — The Queen's minion is the main damage source and follows a fixed attack cycle: two single hard hits, then a triple-hit Beam, then two more medium single hits before the Beam repeats. Only the Beam turn hits three times — track the cycle so you're not caught blocking for the wrong attack, especially while you're Vulnerable.
Counter strategy:
- Kill the Torch Head Amalgam first, then finish The Queen quickly. While the Amalgam is alive, The Queen mostly buffs it and blocks rather than attacking you directly, so the Amalgam (with roughly half The Queen's total HP) is the real threat to remove. But don't relax once it's dead — The Queen then switches to attacking you directly and her Enrage move permanently stacks her Strength each cycle, so the longer that solo phase runs, the harder she hits. Keep your damage output up to close the fight out.
- Recalculate your Block needs after Frail is applied. If you normally need 20 Block to survive a hit and Frail reduces your Block by 25%, you now need roughly 27 Block sources to reach the same protection. Adjust how many Defend and Block cards you play accordingly.
- Weak reduces your Attack damage by 25%. If your kill plan requires dealing 50 damage in one turn, you now need sources that produce ~67 damage to achieve the same result. Either plan to deal more or rely on Doom (which executes rather than dealing direct damage) or Juggernaut (which converts Block into damage, also reduced by Weak).
- Save potions for the Chains of Binding turn. When you know Chains of Binding is coming (it's visible in The Queen's intent icons), hold a potion to compensate for the restricted hand. An Explosive Potion or Strength Potion used on that turn still deals full value even with the card restriction.
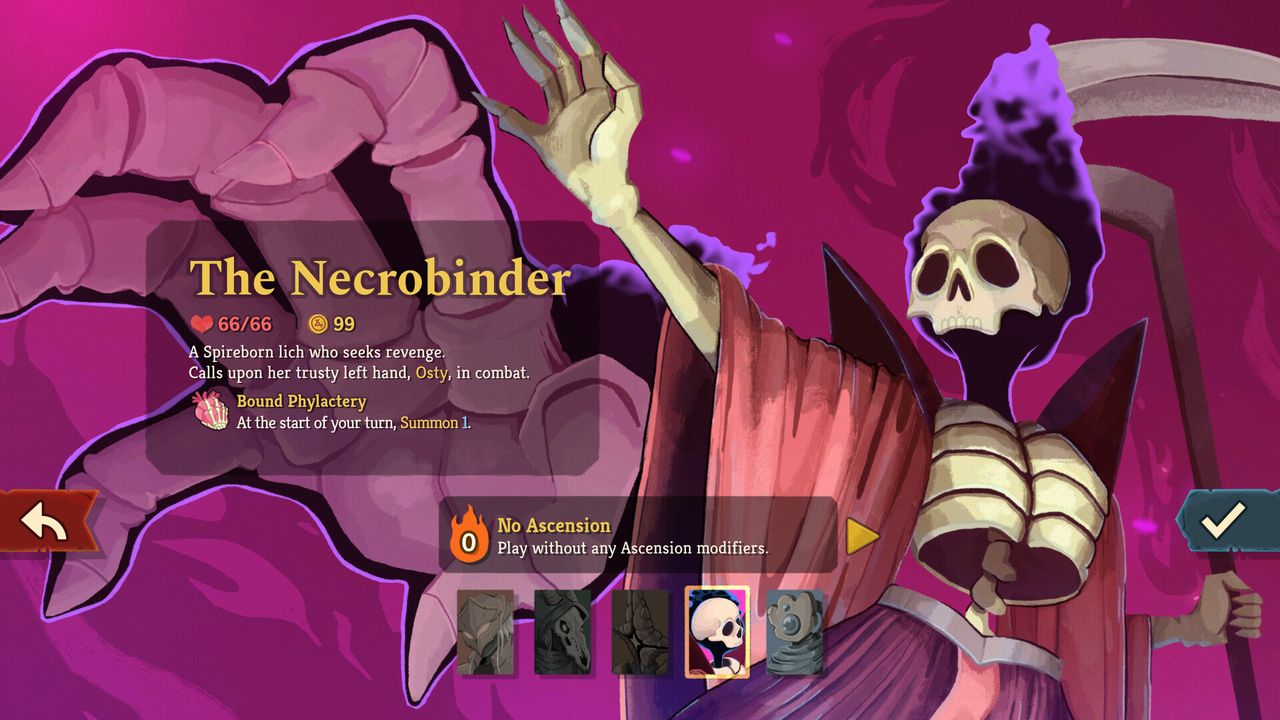
- For Necrobinder players: Doom is not affected by Weak (Doom is not an Attack), making this fight particularly strong for Doom builds. Apply Doom to both enemies and let the Amalgam execute first.
04Boss 3: Aeonglass
Aeonglass is the newest Act 3 boss, added as part of an ongoing rework of the Act 3 boss pool during Early Access. It has 512 HP and no phase transitions — instead it uses escalating Wither pressure to punish long fights. Always verify the current pattern in the official wiki for your game version.
Core mechanics:
- Withering Presence (passive) — every 6 cards you play, Aeonglass adds a Wither card to your hand. Wither is unplayable and deals 3 damage to you at the end of your turn if it remains in hand. The Wither count builds as the fight extends.
- Repeating cycle: Ebb → Eye Lasers → Increasing Intensity — Ebb deals 22 damage and gains 33 Block (Patch v0.109.0, July 17, 2026, reduced Ebb's damage from its earlier 26). Eye Lasers deals 11 damage twice. Increasing Intensity shuffles a Wither into your discard pile, grants Aeonglass Strength, and upgrades all existing Withers (each upgraded Wither deals more damage at turn end).
- Artifact (3 stacks) — Aeonglass blocks the first three debuffs applied to it. Account for this when planning Vulnerable or Weak setups.
Counter strategies:
- Kill fast to minimise Wither accumulation. Each use of Increasing Intensity upgrades Withers already in your deck — the longer the fight, the more unplayable damage cards you're holding. Burst builds (Strength + Heavy Blade, Doom execution) benefit most here.
- On Ebb turns, don't waste high-damage cards. Ebb grants 33 Block — plan your burst for Eye Lasers or Increasing Intensity turns when Aeonglass has no Block buffer.
- Exhaust builds manage Withers well. Cards that Exhaust cards from hand (or Sentinel/Feel No Pain triggers) can clear Withers before they deal end-of-turn damage. Corruption + Dark Embrace + Feel No Pain generates sustained Block against the predictable single-target cycle.
05Universal Act 3 Boss Tips
- Read the intent before every turn. All Act 3 bosses telegraph their next action through the icon above them. Never play a full offensive turn into a boss that is about to deal 40 damage — always check and Block appropriately first.
- Use your highest-value potions here, not earlier. A Strength Potion (+5 Strength for the combat) combined with Heavy Blade can deal 60–80 damage in one turn. That's often enough to swing a boss fight.
- Enter with at least 60% max HP if possible. Most Act 3 bosses can deal 30–50 damage on their first turn if your Block is insufficient. Entering at 40 HP against a 30-damage opener leaves no room for error.
- Know which boss you're facing before entering. The boss encounter is visible on the map before you commit to the path. If you have a choice of routes, look at what boss each path leads to and pick the one your deck is better equipped for.
- Doom is effective in Act 3 but requires setup. The execution fires when an enemy's current HP is at or below your total Doom stacks (an absolute comparison, not a percentage). Chip Act 3 bosses with regular damage first to lower their HP, then set the Doom threshold for the final kill window. Doom bypasses Block entirely and ignores Metallicize, making it valuable regardless of how much Block the boss has built.
FAQ
Which Act 3 boss is hardest in Slay the Spire 2?
The Queen is generally considered the most mechanically demanding because it is a two-enemy fight with the Chains of Binding restriction mechanic and three 99-stack debuffs (Frail, Weak, and Vulnerable) that permanently change your damage, Block, and incoming-damage math for the entire fight. Test Subject is the most punishing for uneven decks — the three-phase revival forces you to execute three different strategies (avoid Skills in Phase 1, block everything in Phase 2, burst on non-Intangible turns in Phase 3). Aeonglass is the newest boss and its difficulty varies most across patches, but its escalating Wither mechanic punishes slow builds hardest.
Should I focus the Queen or the Torch Head Amalgam first?
Focus the Torch Head Amalgam first — while it's alive, The Queen mostly buffs it and blocks rather than attacking directly, and the Amalgam's attack cycle (including an occasional triple-hit Beam) is where most of your incoming damage comes from. The Queen's Chains of Binding and her 99-stack Frail/Weak/Vulnerable debuffs are disruptive but don't hit you directly. Once the Amalgam is dead, don't relax: The Queen switches to attacking you herself, and her Enrage move permanently stacks her Strength each cycle, so the fight gets more dangerous the longer that solo phase drags on — keep pushing damage to close it out.
How do Frail and Weak affect my numbers against The Queen?
Frail reduces all Block you gain by 25% (rounded down). So Defend's normal 8 Block becomes 6 Block under Frail. Weak reduces all Attack damage you deal by 25%. So an attack that normally hits for 20 deals only 15 under Weak. Both debuffs effectively require you to have roughly 33% more sources of Block and damage to maintain the same effective output. The Queen's opening move also applies 99 stacks of Vulnerable, meaning you take 50% more damage from every attack for virtually the whole fight — that's arguably the most dangerous of the three, since it works directly against your HP total rather than just your offense or defense math. Adjust your playing pattern once all three are active.
How many turns does it take to beat Act 3 bosses?
For strong decks, Act 3 bosses should ideally be resolved within 6–12 turns total. Test Subject requires defeating the boss three times (across three phases), making it the longest fight; aim to end each phase quickly before its modifiers compound. Aeonglass punishes extended fights through escalating Wither cards that fill your hand and deal end-of-turn damage — burst builds can end it in 4–6 turns. The Queen can be a longer fight if you focus on killing the Amalgam first, but once it's dead the remainder of the fight is usually controllable.
Can Doom from the Necrobinder execute Act 3 bosses?
Yes, and it's one of the Necrobinder's strongest advantages in Act 3. Doom executions are not Attacks and are not reduced by Weak — so The Queen's debuff spread doesn't reduce your Doom effectiveness. Apply Doom consistently across multiple turns, use Countdown for passive Doom generation, and let the execution threshold take the boss when it's within range. The relic Undying Sigil (enemies with Doom at or above their current HP deal 50% less damage) is especially valuable here, since it softens the hit from The Queen or the Amalgam during the turns you're waiting for a Doom execution to land.
Sources
Where the facts on this page were checked. If one of them now says something different, we want to know — tell us and we will fix the guide.
- Test Subject Slay the Spire 2 Wiki (wiki.gg)
- Queen Slay the Spire 2 Wiki (wiki.gg)
- Aeonglass Slay the Spire 2 Wiki (wiki.gg)
- Vulnerable Slay the Spire 2 Wiki (wiki.gg)
- V0.109.0 - Beta Patch Slay the Spire 2 Wiki (wiki.gg)
- V0.111.0 - Beta Patch Slay the Spire 2 Wiki (wiki.gg)
- Undying Sigil Slay the Spire 2 Wiki (wiki.gg)
New & updated guides ship every week. Follow the Atom feed or get notified when new Slay the Spire 2 guides land.