Last updated: 5 September 2026
Mortal Shell 2 Parry and Harden Guide — Timing Every Defensive Option
Mortal Shell 2 hands you three different ways to shut down an incoming attack, and the game doesn't spell out how they relate to each other or why you'd pick one over another. Here's how Perfect Guard, Harden, and Parry actually work, and which one you should be reaching for.
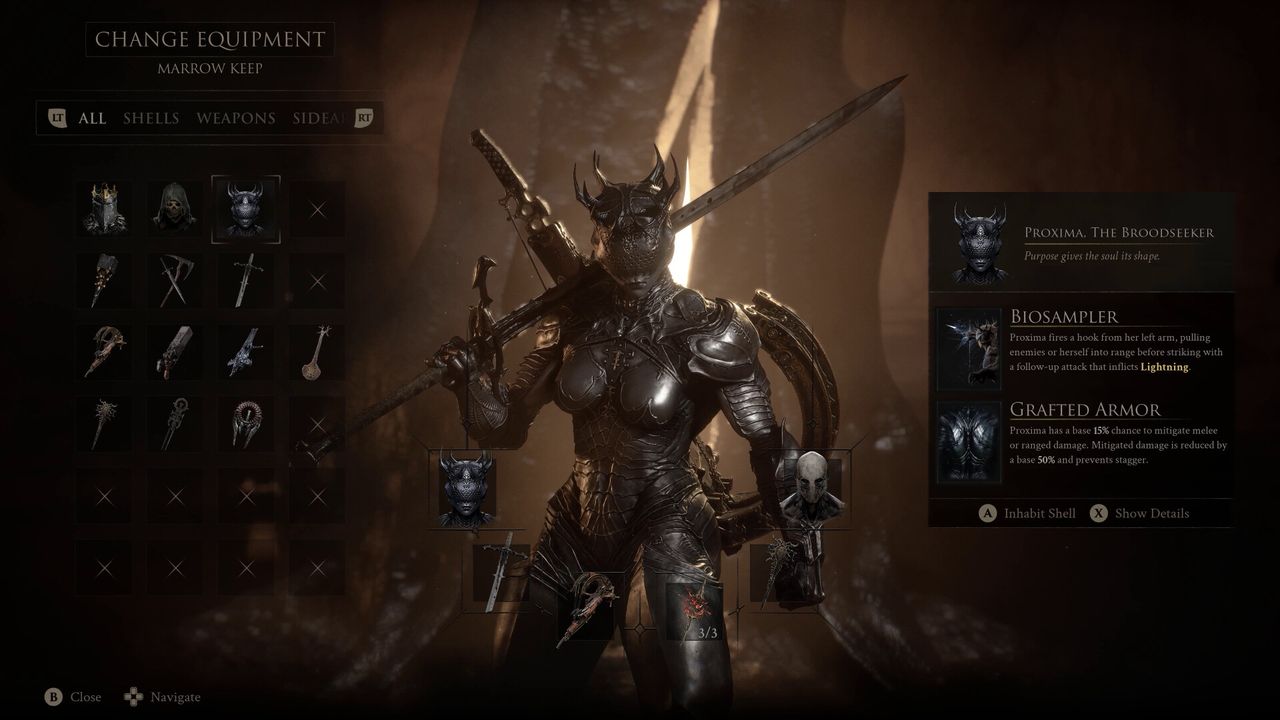
Mortal Shell 2 splits its defensive options across two different Seal slots. With the starting Untarnished Seal equipped, holding the block input right before a hit lands triggers a Perfect Guard — full damage nullification plus a little Break damage. Swap in Vatra's Seal (unlocked after the Tar Golem) and the same input instead turns you to stone: a Harden blocks one hit outright, while a precisely timed Perfect Harden also deals Break damage and instantly refills your Harden meter so you can chain them. Parry, on the other hand, is its own separate input entirely — riskier to time, but worth roughly three times the Break damage of the other two. Once an enemy's Break meter fills, a red mark appears on them; hit that with a light attack to Riposte.
01Three Defensive Options, Two Seal Slots
Perfect Guard and Harden both use the same input (Alt on keyboard/mouse, a shoulder button on controller) — which one you get depends entirely on which Seal you have equipped. You start with the Untarnished Seal, which gives you Perfect Guard. After defeating the tutorial boss, the Tar Golem, you unlock Vatra's Seal, which swaps that same input over to Harden instead.
Parry is separate from both of these — it has its own input (Q on keyboard/mouse) and works regardless of which Seal you have equipped.
02Perfect Guard: The Starting Option
With the Untarnished Seal equipped, pressing the guard input right as an attack is about to connect nullifies all damage and deals a small amount of Break damage using your currently equipped weapon. A Guard meter shown onscreen tracks how much punishment you can absorb before it breaks, which makes it the most forgiving of the three defensive tools to learn on.
03Harden and Perfect Harden: Vatra's Seal
Once you're running Vatra's Seal, the same input turns your Shell to stone instead of guarding. A regular Harden nullifies all incoming damage from a single attack. Time it precisely — hardening just before the hit actually lands, rather than early — and you get a Perfect Harden instead: same full damage nullification, plus a small amount of Break damage.
The reason Perfect Harden is worth chasing over a regular Harden isn't just the Break damage: landing one instantly refills your Harden meter, which means a player who can consistently time Perfect Hardens can chain them back to back through an entire combo, as long as they don't misjudge a single hit.
04Parry: Highest Risk, Highest Reward
Parry works independently of your equipped Seal. Pressing the parry input swings your arm out in front of you, and if that connects with an incoming attack, it nullifies all damage and deals a large amount of Break damage — roughly three times what you get from a Perfect Guard or Perfect Harden.
That payoff comes with real risk: there's no meter cushioning a bad read the way Guard has, so a mistimed Parry just eats the hit. It rewards players who've learned an attack's timing well enough to commit to it on purpose rather than reacting on reflex.
05Riposte: Cashing In Break Damage
Whichever defensive option you use to build Break damage — Parry, Perfect Guard, Perfect Harden, or certain Tarstones and Shell abilities — once an enemy's Break meter fills, a red mark appears on their body. Hit that spot with a light attack to execute a Riposte, a heavy damage punish that's the main payoff for playing the defensive game correctly.
06Which Should You Default To?
Start on the Untarnished Seal and get comfortable with Perfect Guard and Riposte first — it's the most forgiving of the three and teaches you the enemy timing you'll need everywhere else. Once you've cleared the Tar Golem and unlocked Vatra's Seal, switch over and work on chaining Perfect Hardens through multi-hit combos. Save committing to full Parries for fights where you already know an attack's timing cold, since a whiffed Parry costs you more than a whiffed Guard or Harden ever will.
FAQ
What's the difference between Parry, Harden, and Perfect Guard in Mortal Shell 2?
Perfect Guard (Untarnished Seal) and Harden (Vatra's Seal) share the same input and swap based on which Seal you have equipped; both nullify damage, with Perfect Harden and Perfect Guard also dealing small Break damage on precise timing. Parry is a separate input available regardless of Seal, riskier to land, but worth roughly three times the Break damage of the other two.
How do you unlock Vatra's Seal in Mortal Shell 2?
Defeat the Tar Golem, the tutorial boss. That's what unlocks Vatra's Seal, which turns your guard input into Harden instead of Perfect Guard.
What does a Perfect Harden do in Mortal Shell 2?
Timed right before an attack lands, it nullifies all damage from that hit, deals a small amount of Break damage, and instantly refills your Harden meter — letting you chain Perfect Hardens back to back if your timing stays accurate.
How do you Riposte in Mortal Shell 2?
Build up an enemy's Break meter with Parries, Perfect Guards, Perfect Hardens, or certain Tarstones and Shell abilities. Once it fills, a red mark appears on the enemy — hit it with a light attack to execute the Riposte.
Is Parry better than Harden in Mortal Shell 2?
It deals more Break damage, but it's also riskier since there's no meter to absorb a bad read the way Guard has. Most players are better off learning Perfect Guard and Harden first and saving Parry for attacks they've already learned the timing of.
Sources
Where the facts on this page were checked. If one of them now says something different, we want to know — tell us and we will fix the guide.
- How to Parry, Guard, and Harden in Mortal Shell 2 Game Rant
- Guides and Mechanics — Mortal Shell 2 Wiki Mortal Shell 2 Wiki
New & updated guides ship every week. Follow the Atom feed or get notified when new Mortal Shell 2 guides land.