Last updated: 5 September 2026
Mortal Shell 2 Boss Guide — How to Beat Every Main Boss
Mortal Shell 2 puts ten main bosses between you and the credits, on top of the Tar Golem you meet in the tutorial. This guide runs through each one in the order you're likely to fight them — Fainweald first, then the Ruins of Mammon, then the four-boss gauntlet in the Unfound Path — with the strategy that actually works, not just a list of attack names.
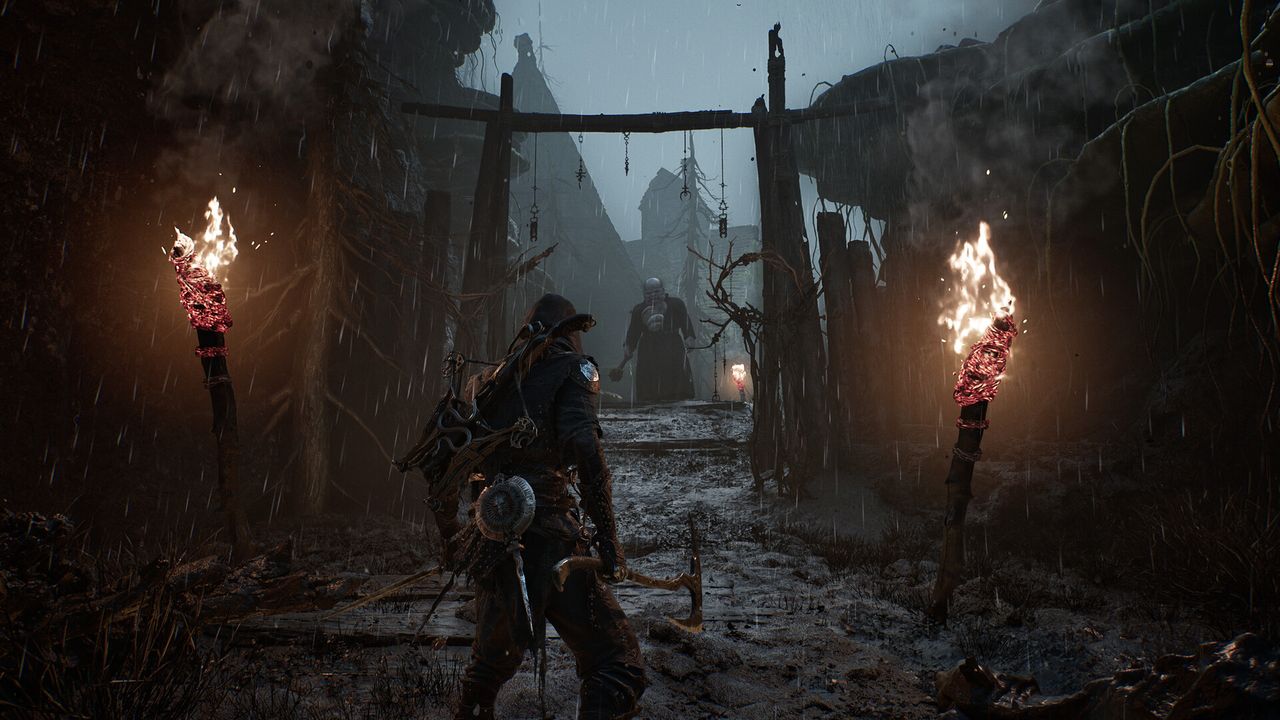
Mortal Shell 2 has ten main bosses beyond the Tar Golem tutorial fight: three in Fainweald (Magdalena, the Lost Child, the Nameless Captive), three in the Ruins of Mammon (Droeg, Hexapod, Sir Isaac), and four in the endgame Unfound Path (Malborn Offspring, the Monolith, Orrem, and final boss Zmey). Harden through unblockable red attacks, parry the rest to build Break damage, and check our progression guide if you're not sure which gate leads to which fight.
01Tar Golem — The Tutorial Boss
Your first real fight in Mortal Shell 2 is the Tar Golem, at the end of the tutorial. It hits hard and most new players don't win the first attempt, so don't panic if it kills you — the moves you learn here (parrying its slower swings, dodging the big unblockable smash) are exactly what the rest of the game builds on.
Parry its standard swings to build Break damage and open it up for a Riposte. Its telegraphed overhead smash is unblockable — dodge to the side rather than trying to Harden through it, since the tracking window is generous but the damage isn't worth testing.
02Fainweald: Magdalena, the Lost Child, and the Nameless Captive
These three bosses gate Fainweald's three Corrupted Gates — see our progression guide for which Beacon leads to which gate.
- Magdalena, the Lady of the Woods (Mushroom Village Gate, Glutted Mire): fought from a wheelchair-mounted position, so circle behind her to interrupt and stun her rather than trading hits head-on. Don't stand in the fire she leaves on the ground, and prioritize the small enemies she summons before they swarm you — her tracking projectiles are avoidable just by keeping your distance and side-stepping.
- The Lost Child (Sanguine Caverns): its arm swipes have long, obvious windups — dodge or Harden through them rather than trying to parry, since the timing is generous but punishing to misjudge. Its close-range triple-bite combo is parryable. Keep circling away from its rear goop spray, which tracks less accurately than its melee attacks. The second phase is faster but doesn't add new moves, so the patterns you've already learned still apply. Balance Patch 1 (August 2026) also cut its base damage by 10% and its max health by 15%, so the fight hits noticeably softer and ends faster than it did at launch.
- The Nameless Captive (Prisoner's Domain, Nochtean Gate): almost every attack here is heavily telegraphed at a consistent speed, which makes it one of the more parry-friendly fights in the game. Parry its four-hit combos and ground smashes for reliable Break damage. Its phase-two seven-hit head-spin attack is parryable too, but it's the harder read of the fight — if you're not confident yet, dodging it is a safe fallback.
03Ruins of Mammon: Droeg, Hexapod, and Sir Isaac
Mammon's three bosses hit noticeably harder than Fainweald's — see the progression guide if you haven't cleared Fainweald first, since the extra Shells and upgrades from there make this stretch far more manageable.
- Droeg, the Conquerer (Conquered Temple): equip frost-resistance gear before this fight if you have it — several of Droeg's attacks carry a frost element. Parry or Harden its melee combos, then circle behind it once it's stunned rather than staying in front for the follow-up. When it holds its head and starts tracking you with a ranged attack, break line of sight behind a stone slab or tree instead of trying to dodge in the open; the attack is unblockable.
- Hexapod (Withered Shoals): it always turns to face you, so flanking doesn't give you much of an edge — stay on its front and watch for the tell instead. When it unfurls all of its fingers at once, that's a clear warning an unblockable attack is coming, so stop attacking and dodge away. It also has an unblockable grab that fires the moment it recovers from a stagger, so reposition before following up rather than running straight back in. A ranged weapon like the Triarch Repeater helps chip it down between openings.
- Sir Isaac, the Scholar-Prince (Faded Citadel): phase one is a standard sword-and-shield moveset — parry repeatedly and you'll stun him with little risk. Phase two drops the shield for two extra swords and speeds up; he often swings all three in quick succession, so parrying the first hit can still leave you open to the rest of the combo — Hardening through these strings is the safer bet. If you've unlocked Tiel's shadow clones or Sester Genessa's Faithful Doubles, summoning one to split his attention makes this phase considerably easier.
04The Unfound Path: Four Bosses Back to Back
Clearing all six Corrupted Gates opens the Unfound Path, Mortal Shell 2's endgame — four boss fights in a row with no safe way to grind between them, so go in with your main Shell fully upgraded and a full stock of healing items.
- Malborn Offspring: widely considered the hardest fight in the game — no spirit summon can help you here, so this one's on you alone. Unlike most bosses it has two full health bars instead of one bar split into phases. Dropping the first bar doesn't end the fight — it slowly rises back up, so keep attacking through that entire recovery animation to chip extra damage before phase two starts. From there its blade is permanently lightning-charged: melee strings come out faster and harder, and it gains a ranged lightning bolt, so you can't just hold distance to stay safe. Dash in for quick hits with a fast weapon, then retreat before it can punish you, and save healing and Resolve from phase one since you'll need them for the harder second bar.
- The Monolith: only the dangling center section takes damage — ignore the rest of its body. Phase one's ball-slam attacks are safely parryable; its flat ground slam is better dodged backward. Phase two adds tracking laser fans — dodge through them moving in the same direction the boss is rotating, not against it. Phase three adds spinning and jumping attacks that are best avoided by running rather than dodging through them. Balance Patch 1 (August 2026) cut its base damage by 19% and max health by 10%, and adjusted several of its attack timings for fairness, so if you fought it before the patch expect a noticeably easier read on top of the lower numbers.
- Orrem, the Reclaimed: phase one runs the exact same moveset as the Tar Golem from the start of the game, just dealing Bloodcurse damage instead of Burn — equip Bloodseed in your passive slot if you have it. Once its health bar drains, Orrem grows a tail and shifts into a faster, scorpion-like form for phase two: it scurries around more, lashes with the tail, and sets off flame explosions from range, so dodge sideways rather than backward when it advances. Its unblockable jump attack, slamming both axes down together for a Bloodcurse blast, is best avoided by dodging to the side. Around half health it backs off and waits — either keep your distance and chip it from afar, or stay patient for it to come to you rather than rushing in blind.
- Zmey, the Unbidden (final boss): equip whatever gives you the most Cosmic Disease resistance you have access to — this fight punishes going in unprepared for it more than any other stat. Position between its legs to hit the body directly. Its ground slam and the final swing of its four-hit sword combo are both Harden-parryable; dodge forward and to the side to avoid its tail grab. Phase two keeps the same core tactics but adds a wave attack you'll need to dodge through rather than around.
05General Tips That Apply to Every Boss
A few habits carry across the whole boss roster:
- Harden red, unblockable attacks — or dodge them if you're not confident on the timing. Trying to block them normally gets you killed regardless of your Shell.
- Parry everything else when you can read the timing. Successful parries build Break damage fast and open a Riposte window, which is the most efficient damage you'll do in any fight.
- Don't fight underleveled. If a boss consistently one- or two-shots you, that's usually a sign to clear another Beacon dungeon or Corrupted Gate first rather than a fight you need to grind out through repetition.
- Use summons when you have them. Tiel's shadow clones and Sester Genessa's Faithful Doubles split boss attention in several of the harder fights above, and are worth the Resolve cost.
FAQ
How many bosses are in Mortal Shell 2?
Ten main bosses beyond the Tar Golem tutorial fight: Magdalena, the Lost Child, and the Nameless Captive in Fainweald; Droeg, Hexapod, and Sir Isaac in the Ruins of Mammon; and Malborn Offspring, the Monolith, Orrem, and final boss Zmey in the endgame Unfound Path.
What is the easiest boss order in Mortal Shell 2?
Clear Fainweald's three bosses (Magdalena, the Lost Child, the Nameless Captive) before moving into the Ruins of Mammon — Fainweald is the intended starting region and noticeably more forgiving. Save the Unfound Path's four endgame bosses for after all six Corrupted Gates are cleared, since it's a back-to-back gauntlet with no grinding room in between.
Who is the hardest boss in Mortal Shell 2?
Malborn Offspring, one of the four Unfound Path endgame bosses, is widely considered the hardest fight in the game — two full health bars, fast multi-hit combos, and no spirit summon available to help you through it. Zmey, the Unbidden, is a tougher final boss than most of the main-path fights but most players find it more manageable than Malborn Offspring.
What's the best strategy for Malborn Offspring?
Treat the two health bars as back-to-back fights — dropping the first doesn't end it, the boss slowly rises back up, so keep attacking through that recovery animation for extra chip damage. Phase two's blade is permanently lightning-charged, giving it faster melee strings and a ranged lightning bolt, so you can't just hold distance. No spirit summon works in this fight, so dash in for quick hits with a fast weapon, retreat before it can punish you, and go in with healing and Resolve saved up from phase one.
Should I fight bosses in a different order than the story suggests?
You can clear Fainweald and the Ruins of Mammon's bosses in different order than listed here — Fainweald's three gates don't have a strict internal order either. What matters is clearing Fainweald before Mammon, since it's the more forgiving region and its rewards make Mammon's bosses meaningfully easier.
Sources
Where the facts on this page were checked. If one of them now says something different, we want to know — tell us and we will fix the guide.
- Balance Patch 1 - Patch Notes Cold Symmetry (Steam Community)
- Mortal Shell 2 Patch Notes Fextralife
New & updated guides ship every week. Follow the Atom feed or get notified when new Mortal Shell 2 guides land.