Last updated: 5 September 2026
Delta Force Campaign Walkthrough Black Hawk Down — All 7 Missions
The Delta Force Black Hawk Down campaign, which launched on 21 February 2025, is a seven-mission co-op and solo story mode that re-imagines the 1993 Battle of Mogadishu. Developed on Unreal Engine 5 — distinct from the UE4 multiplayer modes — it tells an action-driven story following elite operators conducting raids, rescue operations, and a desperate fighting withdrawal through the city. This walkthrough covers all seven missions with key objectives, tactical notes, and tips for players stuck on specific points.
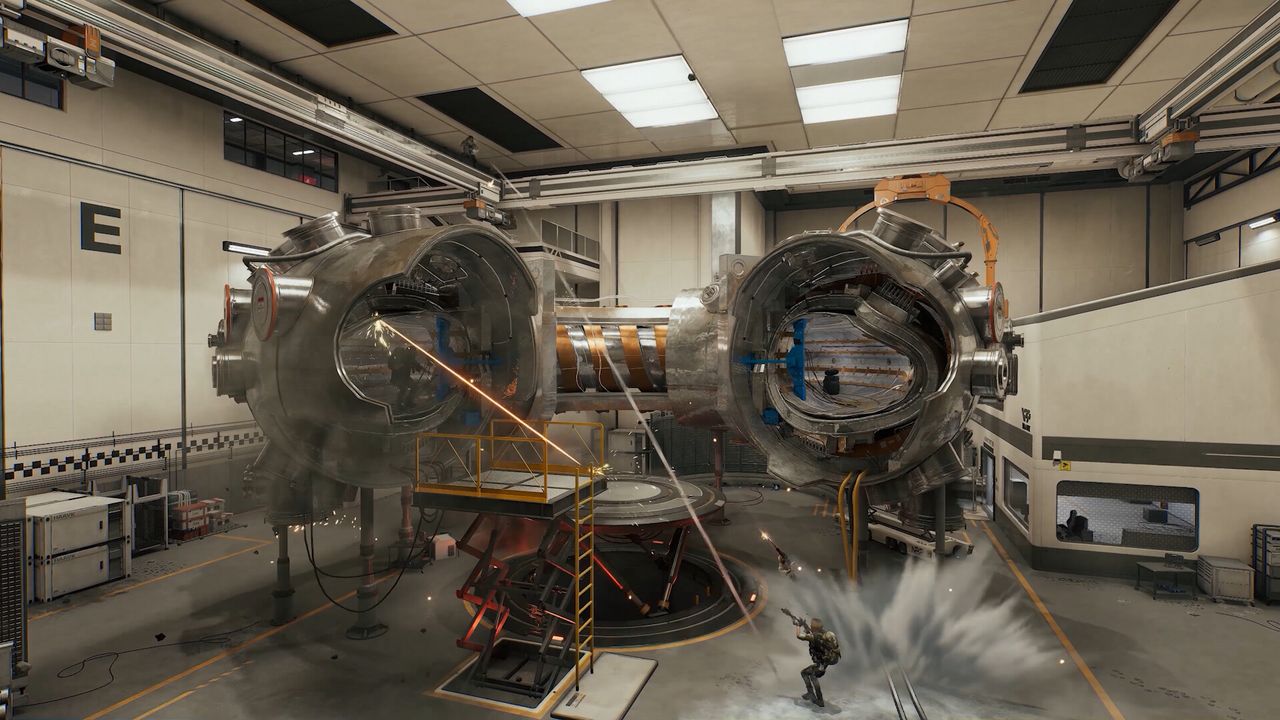
01Campaign Overview and Setup
The Black Hawk Down campaign is separate from Warfare and Hazard Operations — it has its own progression, checkpoint saves, and does not share your live-service loadouts. You can play every mission solo at selectable difficulty levels, or run the entire campaign in co-op with a full squad of up to four players.
The campaign is set during a fictionalised reconstruction of Operation Gothic Serpent: a 1993 U.S. military operation in Mogadishu, Somalia that targeted key figures of the Habr Gidr clan led by Mohamed Farrah Aidid. The scenarios range from precision daylight raids to night infiltrations and a brutal daytime withdrawal through hostile streets.
Key setup advice before starting:
- If you're new to Delta Force, consider completing one or two Warfare matches first to get comfortable with movement, ADS, and weapon feel — the campaign uses the same controls but expects tighter aim under pressure.
- On solo, the Normal difficulty is balanced for players familiar with military FPS games. Easy difficulty removes some AI pressure and is recommended for players primarily interested in the story.
- Co-op is not required but makes the harder encounters significantly more forgiving, particularly missions with vehicle escort sequences.
02Mission 1: Irene
The opening mission establishes the operation's context and introduces the combat mechanics under controlled pressure. You insert into Mogadishu and move toward the Olympic Hotel area, where Aidid's staff are holding a meeting. A white vehicle parked near the meeting location serves as a visual landmark to orient toward.
Key objectives: reach the objective zone, eliminate or neutralise the targets at the meeting site, and prepare for fast-rope extraction before the situation escalates.
Tactical notes:
- This mission is designed as a tutorial in practice — AI aggression is lower than later missions. Use it to learn the urban movement system and get comfortable with taking cover behind destructible walls.
- The white vehicle marker is visible from a distance. Don't rush past it — it is the anchor for the first major firefight.
- Conserve flashbangs and grenades for the interior clearing sections, not the open approach.
03Mission 2: The Fuse
With the initial raid underway, the second mission shifts the focus to crisis evacuation: your squad must extract wounded soldiers from a deteriorating situation under heavy fire. You serve as the point person, holding the evacuation corridor open while taking fire from multiple directions.
Key objectives: protect the wounded as they are evacuated, suppress enemy forces closing in on the extraction route, and keep the corridor open long enough for everyone to get out.
Tactical notes:
- This mission's pressure is sustained rather than spiked — enemies keep coming rather than arriving in distinct waves. Manage your ammunition carefully across the engagement.
- Prioritise your position over kills. A well-placed cover position that protects the evacuation route is worth more than aggressive pushes that leave it exposed.
- In co-op, one player should anchor the evacuation point while others push back enemy flankers.
04Mission 3: Black Hawk Down
A friendly helicopter is shot down, and your team is tasked with reaching the crash site and securing any survivors before they are overwhelmed. This is where the campaign's tone shifts decisively from controlled raid to reactive crisis management.
Key objectives: navigate to the downed helicopter, locate and assist any survivors, and hold the perimeter until extraction.
Tactical notes:
- Enemy density increases significantly in this mission. Enemies approach from multiple directions around the crash site — assign squad members to cover different approach angles if playing co-op.
- The perimeter hold phase is the hardest part of this mission. Stay low, use available cover (vehicle wrecks, building edges), and prioritise suppressing the approaches rather than chasing individual kills.
- Ammo management matters here — pick up ammunition from downed enemies during lulls between waves.
05Mission 4: Lost Convoy
One of the most mechanically demanding missions: your team must escort a critical convoy through hostile-controlled streets while fighting off waves of attackers from both sides of the route.
Key objectives: join and protect the convoy, repel ambushes from flanking positions, and ensure the convoy reaches its destination.
Tactical notes:
- Stay ahead of the convoy, not alongside or behind it. The ambushes come from the front and sides — clearing the path before the convoy reaches each junction prevents the worst damage.
- Use rooftops and second-floor windows to get elevation on flanking enemies. Ground-level cover tends to get overwhelmed quickly in the mid-mission ambush.
- Co-op tip: split roles — one player stays beside the convoy to suppress close threats, the other advances to clear junction points early.
06Missions 5–6: Valor and N.S.D.Q.
The two mid-campaign missions deepen the conflict before the finale. Mission 5 (Valor) puts you in a protective role: two elite snipers are stranded after a second Black Hawk goes down, and your squad must fight through to reinforce and protect them while they hold their position. Mission 6 (N.S.D.Q.) shifts the tone to stealth as night falls — guiding survivors through enemy-infested streets requires patience and route discipline over raw firepower.
General tactical principles that apply across both missions:
- Valor — protect before you advance: The snipers' survival determines success. Do not push aggressively until the immediate threat to their position is suppressed.
- N.S.D.Q. — sound discipline: Night operations narrow both enemy and player vision cones. Flanking routes through unlit areas are safer than pushing through brightly lit doorways. Suppressed weapons matter more here than in any other mission.
- Checkpoint use: Both missions have mid-mission checkpoints. If a section is proving too difficult, allow a death and retry from the checkpoint with the map knowledge you now have.
If you are struggling with either mid-campaign mission, try reducing difficulty for one run to learn the map layout and enemy spawn positions, then return to your preferred difficulty.
07Mission 7: Mogadishu Marathon
The finale. Your team must fight through approximately 1,600 metres of hostile streets — a sustained running engagement with near-constant enemy contact — to escort an extraction convoy to the Stadium. This is the hardest mission in the campaign and the one most players remember.
Key objectives: protect the convoy through the gauntlet, reach the Stadium checkpoint, and hold for final extraction.
Tactical notes:
- Keep moving forward. Unlike the crash site hold-phase, stopping to fight every engagement is fatal here. The objective is progress, not clearing — suppress enemies enough to move the convoy forward, then press on.
- Use vehicles strategically. Parts of the route have usable ground vehicles. They absorb damage that would otherwise down your team and move the convoy faster. Prioritise keeping any available vehicle alive.
- Save ultimates for the Stadium approach. The final stretch before the Stadium involves the highest enemy concentration in the mission. If you have any operator ultimates charged, this is where they produce the highest return.
- Co-op advantage is largest here. Solo runs of Mogadishu Marathon are significantly harder than co-op. The enemy volume is balanced around a full squad. Solo players may need to reduce difficulty or use the mid-mission checkpoint restart if they reach it.
08General Campaign Tips
- Use checkpoints. The campaign autosaves at mission checkpoints. If a section is proving too difficult, let yourself die to retry from the checkpoint rather than fighting bad spawns from the wrong position.
- Prioritise headshots on heavy enemies. Some enemies in later missions wear body armour that significantly reduces torso damage. Headshots bypass this and remain the fastest way to down armoured targets throughout the campaign.
- Grenades are finite; use them deliberately. You carry a limited grenade supply and cannot always resupply mid-mission. Save grenades for rooms with multiple clustered enemies rather than throwing them at single targets.
- The campaign and multiplayer are separate systems. Campaign difficulty and completions do not affect your Warfare or Hazard Operations profile, and you cannot use your live-service loadouts in campaign missions. Think of it as a self-contained experience.
FAQ
How many missions are in the Delta Force campaign?
The Delta Force Black Hawk Down campaign contains seven missions in total. They run from the initial daytime raid in Mission 1 (Irene) through progressively harder urban combat scenarios — including the evacuation of wounded soldiers (Mission 2: The Fuse), the helicopter crash response (Mission 3: Black Hawk Down), a harrowing convoy escort (Mission 4: Lost Convoy), a sniper protection mission (Mission 5: Valor), and a night stealth extraction (Mission 6: N.S.D.Q.) — culminating in the Mogadishu Marathon finale where your team fights through roughly 1,600 metres of hostile streets to reach the Stadium.
Is the Delta Force campaign free to play?
Yes. The Black Hawk Down campaign was added to Delta Force on 21 February 2025 and is free to play for all players who own (or have downloaded) the base game, which is itself free on PC, PS5, Xbox Series X|S, iOS, and Android.
Can you play the Delta Force campaign in co-op?
Yes. All seven missions support both solo and co-op play with a squad of up to four players. Co-op significantly reduces the difficulty of the harder missions — particularly Lost Convoy (mission 4) and the Mogadishu Marathon finale — by allowing teammates to revive each other and split coverage of multiple approach routes.
How long is the Delta Force Black Hawk Down campaign?
A full single-player run of the Black Hawk Down campaign on Normal difficulty takes approximately 4–6 hours depending on how often players engage optional encounters and how long they spend on the harder sections. Co-op runs tend to be faster. Players chasing the full campaign on hard difficulty should expect 6–8 hours.
What is the hardest mission in the Delta Force campaign?
Mogadishu Marathon (the final mission, named for the real Battle of Mogadishu's "Mogadishu Mile" withdrawal) is consistently reported as the hardest mission in the campaign by the community, due to its sustained enemy pressure, lack of natural cover during the forward advance, and the difficulty of balancing convoy protection with self-preservation. Lost Convoy (mission 4) is the other commonly cited difficulty spike.
Does the campaign share progression with Warfare and Hazard Operations?
No. The Black Hawk Down campaign is a separate experience with its own progression and difficulty settings. It does not use or unlock content for the live-service Warfare and Hazard Operations modes, and your multiplayer operator loadouts cannot be used in campaign missions.
Sources
Where the facts on this page were checked. If one of them now says something different, we want to know — tell us and we will fix the guide.
- Download Garena Delta Force and enjoy the iconic Black Hawk Down campaign for free! Garena Delta Force
- Delta Force (2025 video game) Wikipedia
New & updated guides ship every week. Follow the Atom feed or get notified when new Delta Force guides land.