Last updated: 5 September 2026
Delta Force Hazard Operations Tips to Survive and Extract
Hazard Operations is Delta Force's extraction mode — three-player squads drop into a contested map, loot what they can find, complete optional side objectives, and fight to reach an extraction point before dying. Unlike Warfare, there are no infinite respawns: die here and you lose everything in your inventory. That tension is what makes Hazard Operations compelling, and it's also what makes it the steepest learning curve in the game. These tips will save you wasted runs.
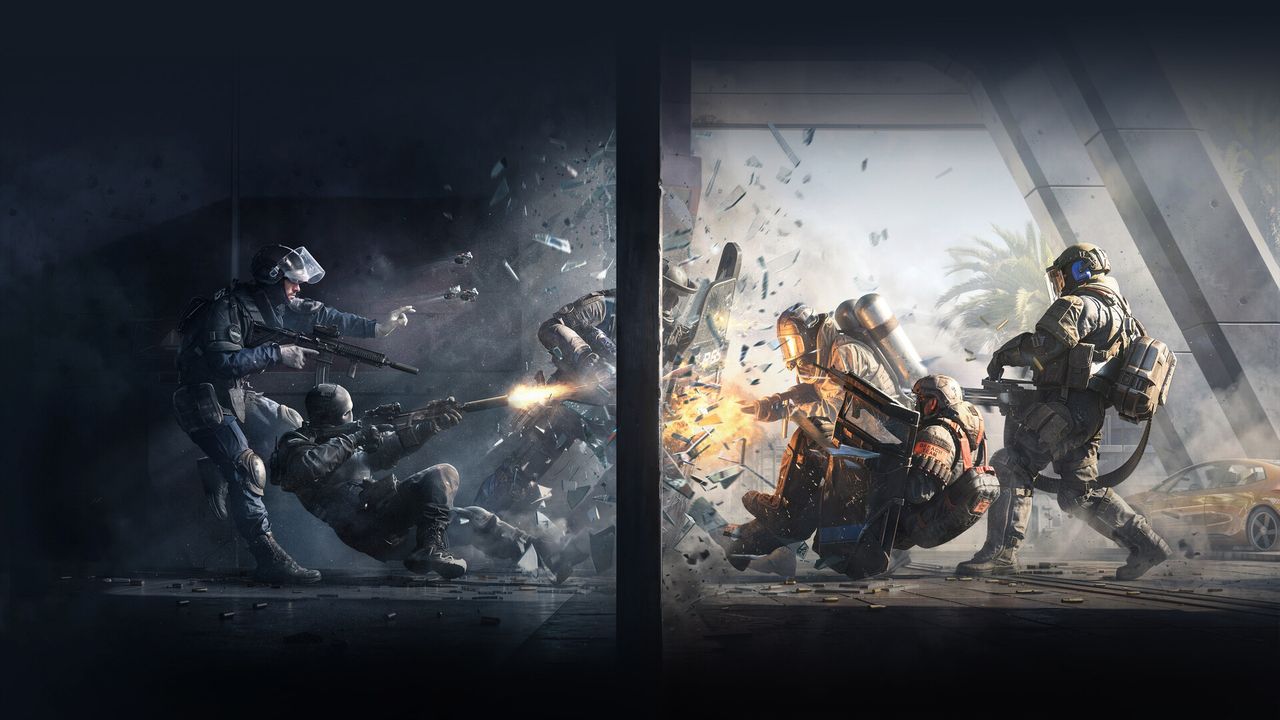
01How Hazard Operations Works
At the start of a Hazard Operations match, your squad of three chooses a spawn zone and drops into a large map populated by AI enemies and other player squads. The map contains loot scattered across buildings, storage crates, vehicles, and named points of interest. AI enemies patrol in predictable patterns; enemy player squads are the bigger threat.
The core loop:
- Drop in and orient yourself relative to the map's points of interest.
- Clear AI patrols or avoid them, then loot nearby containers and buildings.
- Optionally complete in-match side objectives (deciphering codes, finding Bird Nests on high ground, salvaging underwater Clams) for higher-value rewards.
- Monitor your inventory value and team health. When the risk-reward balance tips — when your pack is valuable enough or your health is low — head for an extraction point.
- Call for extraction at the designated zone. Survive the extraction countdown while potentially being ambushed by other squads hunting for easy loot.
Everything in your inventory when you successfully extract is yours to keep, sell, or use in future runs. Everything you carry when you die is permanently lost in that match.
02The Most Important Rule: Extract First
New players consistently make the same mistake: they stay in the map too long, accumulating more loot, and then die while carrying everything they worked for. A modest successful extraction adds to your persistent progression. A failed run with a full pack adds nothing and removes the gear you brought in.
Apply this rule practically:
- Set a mental value threshold before you drop in. Decide in advance what amount of loot makes a run worth ending. Once you hit that value, start moving toward extraction.
- Don't chase the last container. If you've looted most of a building and one container remains on the far side of an active firefight, leave it. The expected value of that container is almost always less than the risk of dying on the way to it.
- Extraction timing matters. Multiple squads often race to extraction points late in a match. Arriving early — before other squads have cleared the map and are desperate to exit — is usually safer than arriving last.
03AI Enemies vs. Player Squads
The map in Hazard Operations contains two categories of threat, and treating them the same way leads to bad decisions.
AI enemies patrol predictable routes and react to sound and line of sight. They can be baited around corners, flanked after marking their position, or simply avoided entirely if your route bypasses them. Killing AI grants loot and sometimes mission credit, but is never required. If your squad is in a hurry toward extraction, ignoring AI patrols is a valid choice.
Player squads are unpredictable, potentially better-geared than you, and motivated by the same loot incentives. The best practice for new players is to disengage from enemy squads unless you have a clear tactical advantage — better position, more team health, or the element of surprise after spotting them first. A third-party scenario, where you let two player squads fight each other and then pick off the weakened winner, is an advanced tactic but one of the most efficient ways to acquire top-tier loot.
Sound discipline matters. Gunfire in Hazard Operations travels far enough that every shot you fire advertises your position to nearby player squads. Use suppressed weapons if you plan to clear AI aggressively.
04Loot Priorities
Not all loot is equal. With a limited inventory capacity, picking up low-value items crowds out space for high-value ones. As a general guide:
- High priority: Weapon attachments (high resale value), currency tokens, mission-specific items (codes, electronic components), and armour plates.
- Medium priority: Medical supplies (consume or sell), ammunition for your current loadout, and equipment cases.
- Low priority: Basic common materials that stack quickly but have low per-unit value. Only worth collecting if your high-priority slots are already full.
Named points of interest on the map — marked locations like the Bird Nest high-ground caches or the underwater Clam salvage sites — tend to have guaranteed high-tier loot but require specific actions to access. Plan routes around these if you are aiming for a high-value run, but accept the time cost and heightened enemy attention they attract.
The Safe Box mechanic: some runs support a persistent stash called a Safe Box where you can deposit loot mid-run. Items in the Safe Box survive even if you die. If the mode currently available includes this mechanic, use it early and often — it decouples your survival from your loot retention.
05Best Operators for Hazard Operations
Not every operator works equally well in extraction. Hazard Operations rewards information, sustain, and movement over raw damage. The recommended squad composition:
- Luna (Recon) — highest priority: Luna's Detection Arrow marks enemy player squads before you engage them, turning every ambush into a forewarned fight. She is the single highest-impact operator in Hazard Operations because information determines survival.
- Stinger (Support) — squad anchor: Stinger's Hive-Tech Pistol heals the squad mid-engagement without requiring them to stop moving, and his Smokescreen allows safe revives when a teammate goes down. Pairing him with Luna covers both sustain and intel — extract faster and safer as a result.
- D-Wolf or Nox (Assault) — flexible third slot: D-Wolf's tactical slide and HP-on-knockdown recovery make him the best choice when you expect to encounter enemy player squads. Nox is better for quieter runs where stealth and trap-setting are more important than raw aggression.
- Gizmo (Engineer) — alternative third: In maps with predictable choke points near extraction zones, Gizmo's web mines and Crawler Spiders can lock down extraction and prevent ambushes. More situational than D-Wolf but very strong on maps with narrow corridors.
06Extraction Phase Tips
The extraction phase is the most dangerous moment in any Hazard Operations run. Other squads know extraction points are on the map, and a squad loaded with loot is a tempting target.
- Scout the extraction zone before calling. Luna's Detection Arrow is invaluable here — fire it into the extraction area before your squad enters to check for waiting enemies.
- Don't call extraction immediately on arriving. Clear or verify the zone first. Calling extraction creates a countdown that alerts other squads to your location.
- Have an exit plan for the countdown. The extraction countdown takes time during which you are relatively stationary. Position your squad so that one player watches each approach route. Stinger's Smokescreen should be saved for this moment.
- If overwhelmed, consider dying lighter. In extreme scenarios where you've been caught and a squad wipe is likely, the option of dropping your least valuable items to reduce loss is available. A squad wipe while over-encumbered is the worst outcome.
FAQ
What is Hazard Operations in Delta Force?
Hazard Operations is Delta Force's extraction mode. Three-player squads drop into a large map, loot items from AI-guarded locations, optionally complete side objectives, and try to reach an extraction point and escape alive. Everything you carry when you successfully extract is kept; everything you carry when you die is lost. It is the highest-stakes mode in the game.
Can you play Hazard Operations solo?
Yes, you can play Hazard Operations solo, but it is significantly harder than playing with a squad. Without teammates, you have no revive option and no squad-wide information sharing from operators like Luna. Most experienced players recommend using public matchmaking at minimum until you are comfortable with the map layouts and enemy patterns.
What is the best operator for Hazard Operations?
Luna (Recon class) is the highest-impact solo operator choice for Hazard Operations. Her Detection Arrow marks enemy players through walls and applies damage over time, giving you forewarning before every engagement. Stinger (Support) is the best squad-anchor choice, providing heals and a Smokescreen for safe revives. Run both together for the most reliable squad composition.
How do I deal with other player squads in Hazard Operations?
The safest approach for new players is to avoid direct confrontations with other player squads unless you have a clear advantage in position, health, or information. Use Luna's Detection Arrow to spot enemy squads before they see you. Third-partying — letting two enemy squads fight and then engaging the weakened winner — is a valid advanced tactic for acquiring high-tier loot without risking a fresh fight.
What should I loot first in Hazard Operations?
Prioritise weapon attachments, currency tokens, mission-specific items (codes, electronics), and armour plates. Avoid filling your inventory with common low-value materials early in a run — they crowd out space for the high-value items that make a run profitable. Named points of interest like Bird Nests (high ground caches) and Clam salvage sites offer guaranteed high-tier loot but require time and expose your position.
When should I extract in Hazard Operations?
Extract when your inventory has reached a value that makes the run meaningful, when your team's health is too low to safely engage another squad, or when you sense that enemy squad activity is concentrating near your area. The most common beginner mistake is staying too long chasing more loot and dying with everything. A modest successful extraction is always better than a greedy failed run.
Sources
Where the facts on this page were checked. If one of them now says something different, we want to know — tell us and we will fix the guide.
- All Delta Force operators PCGamesN
- Patch Notes — June 30, Season "Meltdown" Garena Delta Force
New & updated guides ship every week. Follow the Atom feed or get notified when new Delta Force guides land.