Last updated: 5 September 2026
Genshin Impact Spiral Abyss Complete Clearing Guide
The Spiral Abyss is Genshin Impact's premier endgame challenge — a 12-floor gauntlet that tests roster depth, team-building knowledge, and combat skill. Clearing it fully rewards up to 800 Primogems every two weeks, making it one of the best sources of free pull currency in the game. This guide covers every system from unlock to full-star clears.
01How to Unlock the Spiral Abyss
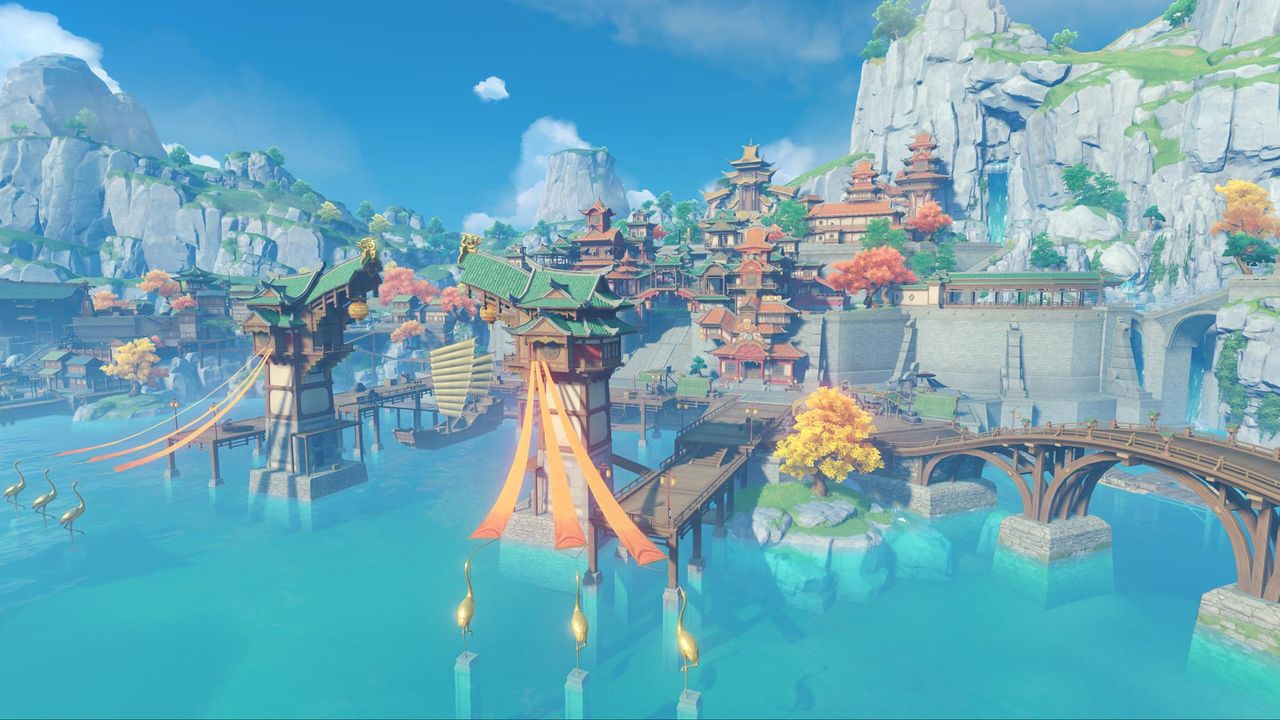
The Spiral Abyss unlocks at Adventure Rank 20. To reach it, travel to Cape Oath on the cliffs of Mondstadt. Defeat the enemies guarding the area and track down three Seelies scattered around the cliffside, guiding each one back to its matching statue. Freeing all three opens a strong wind current that carries you up into a portal, taking you directly to Musk Reef, the island that houses the Spiral Abyss entrance.
There is no story prerequisite beyond AR 20, so new players can start farming the early floors almost immediately after the tutorial period ends.
02Floor Structure: Corridor vs. Abyssal Moon Spire
The Spiral Abyss is split into two distinct halves with different rules and reward structures.
- Abyss Corridor (Floors 1–8): Permanent floors with fixed enemies and fixed Ley Line Disorders. Rewards are one-time only — collect them once and they never reset. Enemy levels scale from low to moderate, making them accessible for newer players.
- Abyssal Moon Spire (Floors 9–12): The real endgame gauntlet. Enemy compositions and the Blessing of the Abyssal Moon rotate, resetting on the 1st and 16th of every month at 04:00 server time. Rewards fully refresh with each reset.
- Floor Layout: Every floor (1–12) contains exactly three chambers. Each chamber is timed and awards up to 3 Abyssal Stars based on how quickly you defeat all enemies. That is 9 stars per floor and 36 total stars across Floors 9–12.
- Progression Gate: To enter a new floor, you must earn at least 6 stars on the previous floor and clear all three of its chambers.
In the Abyssal Moon Spire, enemy levels increase chamber by chamber within each floor, meaning the third chamber of Floor 12 features some of the hardest enemies in the game outside of events.
03Star Rewards and Primogem Breakdown
Stars are the Spiral Abyss currency that unlock both floor progression and Primogem payouts. Each chamber awards 0–3 stars depending on whether you kill all enemies before the timer runs out.
- 3 stars in a chamber: All enemies defeated, plenty of time remaining.
- 2 stars: All enemies defeated, less time remaining.
- 1 star: All enemies defeated, very little time remaining.
- 0 stars: Timer expired before all enemies were eliminated.
The Abyss Corridor (Floors 1–8) pays a one-time bounty of Mora and upgrade materials. The Abyssal Moon Spire (Floors 9–12) pays Primogems per star threshold each cycle:
- 3 stars on a floor: 50 Primogems
- 6 stars on a floor: 50 more (100 total)
- 9 stars on a floor: 100 more (200 total)
- Maximum per floor per cycle: 200 Primogems
- Maximum for all four floors per cycle: 800 Primogems
With two reset cycles per month, a player who 36-stars both cycles earns up to 1,600 Primogems per month from the Spiral Abyss alone — roughly 10 Intertwined Fates.
04Ley Line Disorders and the Blessing of the Abyssal Moon
Two buff systems modify combat in the Spiral Abyss and are worth understanding before you enter.
Ley Line Disorders are passive modifiers attached to individual floors that affect all characters and enemies inside. They can be buffs (bonus elemental damage, shields, healing), neutral quirks, or light debuffs. Always read the Disorder on the floor preview screen — a Disorder that boosts Pyro DMG can completely change which team is optimal.
The Blessing of the Abyssal Moon is a separate, cycle-specific buff shown in the lobby. It applies to all floors in the current rotation and usually synergises with a broad playstyle (Burst spamming, reaction fishing, Normal Attacks). The Blessing rotates on the 1st and 16th.
A critical piece of advice: do not build a team purely around the Blessing. Enemy mechanics and raw DPS matter far more. Use the Blessing as a tiebreaker between two otherwise-equal team options, not as your primary composition driver.
05Two-Team Strategy: How to Build for Both Halves
The most important structural rule of Floors 9–12 is that each floor is split into two halves, each fought with a separate party of up to four characters. Characters cannot appear in both parties, so a roster with only four or five strong characters will struggle.
Follow this framework when assembling your two teams:
- Assign your best DPS to the harder half. Preview enemy types on the floor description. Whichever half has tankier or faster enemies gets your primary carry.
- Give each team a healer or shielder. Running without sustain dramatically increases the risk of a character dying and costing you stars.
- Cover elemental weaknesses across both teams. Each team should carry its own reactions and an answer to that half's enemies.
- Keep Elemental Resonances in mind. Hydro Resonance for healing, Pyro for ATK, Cryo for CRIT against frozen enemies.
- Front-load investment in both carries. Talent Level 8+ on core skills, tuned artifacts, and a decent weapon on your off-banner carry all translate directly into stars.
- Pre-clear at lower stars first. If you cannot 9-star a floor yet, settle for 6 or even 3 stars to collect partial Primogems, then iterate.
Many Floor 12 clears come down to damage-per-second checks. If you lose stars to the clock rather than to deaths, the fix is almost always better artifacts, higher talents, or a synergy upgrade — not a different strategy.
06Practical Tips for Consistent Full-Star Clears
Beyond team building, these habits separate players who 36-star every cycle from those who stall at 30.
- Always check the enemy list before entering. The floor preview shows every enemy in each chamber, letting you prepare the right elemental responses.
- Use the Blessing proactively. Check it in the lobby before finalising teams.
- Manage party HP between chambers. Characters enter each new chamber with the HP they had at the end of the previous one — you cannot use food mid-chamber.
- Practice rotation consistency. Knowing your team's rotation by heart eliminates wasted seconds that kill star ratings.
- Upgrade supports, not just carries. A poorly built Bennett or Kazuha holds back even a C6 main DPS.
- Refresh every cycle. The two reset dates (1st and 16th) give a full month to collect twice. Missing one full cycle costs up to 800 Primogems.
FAQ
What Adventure Rank do you need to enter the Spiral Abyss?
The Spiral Abyss unlocks at Adventure Rank 20. Once unlocked, access it via the wormhole at Cape Oath in Mondstadt or by gliding to Musk Reef from the cliff edge. There are no additional story quests required.
How often do Spiral Abyss rewards reset?
Floors 1–8 (Abyss Corridor) rewards are one-time only and never reset. Floors 9–12 (Abyssal Moon Spire) reset twice per month — on the 1st and the 16th at 04:00 server time. That means you can earn the full Primogem pool up to twice every calendar month.
How many Primogems can you earn from the Spiral Abyss?
A complete 36-star run through Floors 9–12 in a single cycle rewards 800 Primogems. Since the Abyssal Moon Spire resets twice per month, the monthly maximum is 1,600 Primogems. Partial clears still pay out — each star threshold (3, 6 and 9 per floor) rewards 50, 50 and 100 Primogems respectively.
Do you need a large roster to clear the Spiral Abyss?
Floors 9–12 require two separate teams of up to four characters, and a character used in one half cannot appear in the other. This effectively requires at least eight reasonably built characters. A mix of strong five-stars and well-invested four-stars is enough — artifact quality and talent investment matter more than roster size.
Sources
Where the facts on this page were checked. If one of them now says something different, we want to know — tell us and we will fix the guide.
New & updated guides ship every week. Follow the Atom feed or get notified when new Genshin Impact guides land.