Last updated: 18 September 2026
Best Monoco Build in Expedition 33
Monoco is the only Expedition 33 party member whose kit is built entirely around a rotating wheel of masks instead of a fixed skill list, and he's also the only one who doesn't unlock skills through the story — you earn them by hunting specific enemies with him in your party. That makes him confusing to plan around at first. This guide breaks down how the Bestial Wheel actually works, how to unlock his full skill list, and how to build him as either a party-wide support tank or an Agility-driven attacker.
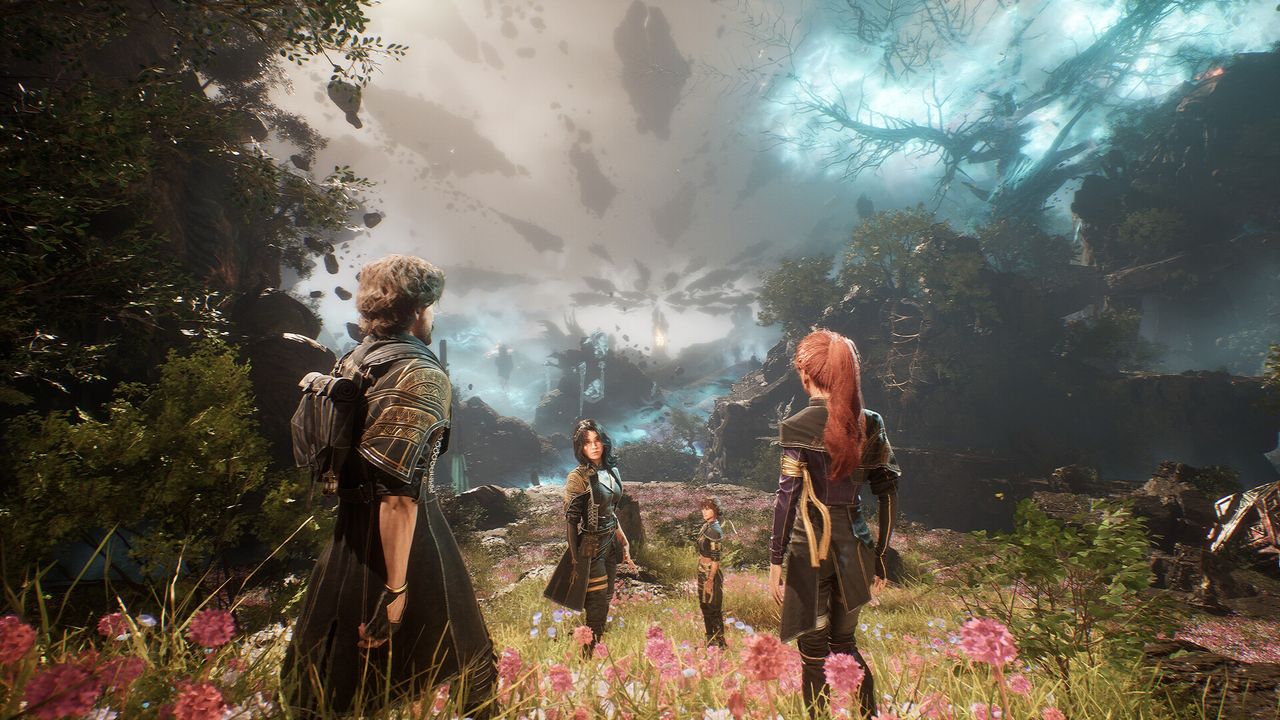
Monoco is built entirely around the Bestial Wheel: every skill he uses rotates a wheel between five masks — Balanced, Agile, Heavy, Caster, and Almighty — and skills get upgraded effects when they match the active mask, while Almighty upgrades everything. Unlike the rest of the party, he doesn't learn skills from a normal skill tree; he unlocks them by defeating specific Nevron enemies while he's an active party member. That makes two very different builds viable: an Agility/Defense tank-support build around the Ballaro weapon that shields and fuels the whole party, or an Agility-first build that leans on fast turns and crits for damage. Pick one role and invest attributes and Pictos to match it rather than splitting your points.
01How the Bestial Wheel Works
Monoco's entire kit revolves around a wheel with five masks: Balanced, Agile, Heavy, Caster, and Almighty. Whichever mask is active when he uses a skill changes how that skill performs.
- Every skill Monoco uses rotates the wheel forward by a fixed number of steps specific to that skill, so you can plan several turns ahead once you know each skill's rotation value.
- Balanced, Agile, Heavy, and Caster each upgrade only the skills that belong to their matching category — for example, a Heavy-tagged skill gets its bonus effect only while the wheel sits on Heavy.
- Almighty is the fifth mask and upgrades every skill regardless of category, making it the strongest single mask to land on but also the one you have the least direct control over reaching consistently.
- Because the wheel moves predictably rather than randomly, strong Monoco play is about sequencing skills so your big payoff lands while the wheel is on the mask that benefits it most.
02Unlocking Monoco's Skills From Nevrons
Monoco doesn't fill out his skill tree through Expedition Points like the rest of the party — he learns new skills by defeating certain Nevron enemies while he is one of your three active party members in that fight. Each qualifying Nevron kill unlocks a corresponding skill directly in his tree.
- Keep Monoco in your active party through story and side content rather than benching him, since skills you miss don't unlock retroactively from enemies you've already cleared without him present.
- This makes him the most exploration-dependent character to build — the more of the map and its Nevron encounters you've fought with him active, the more complete his kit becomes.
- If you respec or want to try both build paths below, this wide unlocked skill pool is what makes switching between them viable without regrinding.
03Build 1: Vitality/Defense Support-Tank
This is Monoco's most reliable role in a party: keep him alive, keep the wheel cycling through support-oriented skills, and use him to shield and fuel your two damage dealers.
- Attribute priority: Agility first — it drives his turn frequency and scales the Ballaro weapon alongside Defense — then Defense, with Vitality as a secondary dump stat for extra survivability.
- Weapon: Ballaro, which scales with Agility and Defense and carries AP-generating bonuses on upgraded skills — it directly fuels your other two party members' action economy rather than just Monoco's own damage.
- Playstyle: Prioritise skills that apply shields or buffs to the party, and time your turns so shield or AP-generation skills land while the wheel sits on their matching mask for the upgraded version.
- Pictos strategy: Favour Pictos and Luminas that extend AP generation and survivability rather than raw crit — this build's value is in keeping the whole party topped up, not in Monoco's own damage output.
04Build 2: Agility DPS
If you'd rather use Monoco as a damage dealer, lean almost entirely into Agility — it's the stat every guide agrees is his core damage and turn-frequency driver, since it both speeds up his turns and scales his best-hitting skills.
- Attribute priority: Agility as your primary stat by a wide margin, with secondary points into Luck for crit once your core damage skills are online.
- Playstyle: Fast, frequent turns mean more wheel rotations per real-time minute, so this build gets to its preferred mask more often than the support build does — sequence your damage skills to land on whichever mask amplifies them.
- Pictos strategy: Prioritise crit-scaling and AP-refund passives so your highest-damage skills come up more often, mirroring the crit/AP-loop approach that works well on Expedition 33's other Agility-scaling characters.
05Choosing Between the Two Builds
Monoco's wide, combat-unlocked skill pool means you aren't locked into one path once you've explored enough of the game with him active — but committing your attribute points to one role at a time gets far more value than splitting them.
- Pick the support-tank build if your other two party members already deal strong damage and need more AP or survivability to execute their combos.
- Pick the Agility DPS build if you want Monoco as a primary damage source, or if you're running a party that's light on offense.
- Respec if you change your mind — because his skills unlock from Nevron kills rather than a spendable point pool, a wide skill pool built up over a playthrough carries over to whichever attribute build you switch into.
FAQ
What is the best Monoco build in Expedition 33?
There are two solid paths. For a support-tank role, prioritise Agility and Defense — both scale the Ballaro weapon, which generates AP for the party on upgraded skills — with Vitality as a secondary survivability stat, and favour Pictos that extend AP generation and survivability. For a damage-focused role, put almost all your attribute points into Agility for faster turns and stronger skill scaling, with Luck secondary for crit.
How does Monoco's Bestial Wheel work?
The Bestial Wheel cycles through five masks — Balanced, Agile, Heavy, Caster, and Almighty. Every skill Monoco uses rotates the wheel forward by a fixed number of steps specific to that skill. Balanced, Agile, Heavy, and Caster each upgrade only skills tagged with their matching category, while Almighty upgrades all of his skills regardless of type. Strong play means sequencing skills so your best ones land while the wheel is on the mask that benefits them.
How do you unlock Monoco's skills in Expedition 33?
Unlike the rest of the party, Monoco doesn't learn skills through the normal Expedition Points skill tree. He unlocks a new skill each time you defeat a specific Nevron enemy while he's one of your three active party members in that fight. Keep him active as you explore to fill out his full skill list — kills scored without him in the party don't retroactively unlock anything.
What attributes should Monoco use in Expedition 33?
It depends on the role. For a support-tank build, prioritise Agility and Defense — both scale the Ballaro weapon — with Vitality as a secondary survivability stat. For a damage-focused build, put the large majority of your points into Agility, since it both speeds up his turns and scales his stronger attacking skills, with Luck as a secondary stat for crit.
Sources
Where the facts on this page were checked. If one of them now says something different, we want to know — tell us and we will fix the guide.
New & updated guides ship every week. Follow the Atom feed or get notified when new Clair Obscur: Expedition 33 guides land.