Last updated: 5 September 2026
Dead by Daylight Generator Repair Guide Skill Checks, Efficiency & Strategy
Generators are the Survivor's primary objective in Dead by Daylight. Five must be repaired before exit gates can be powered — and how efficiently your team does this determines whether anyone escapes or the Killer has time to pick everyone off. This guide covers the base repair mechanics, skill check timing, multi-survivor efficiency math, generator regression, dangerous 3-gen clusters, and the best perks to accelerate repairs.
01Generator Basics
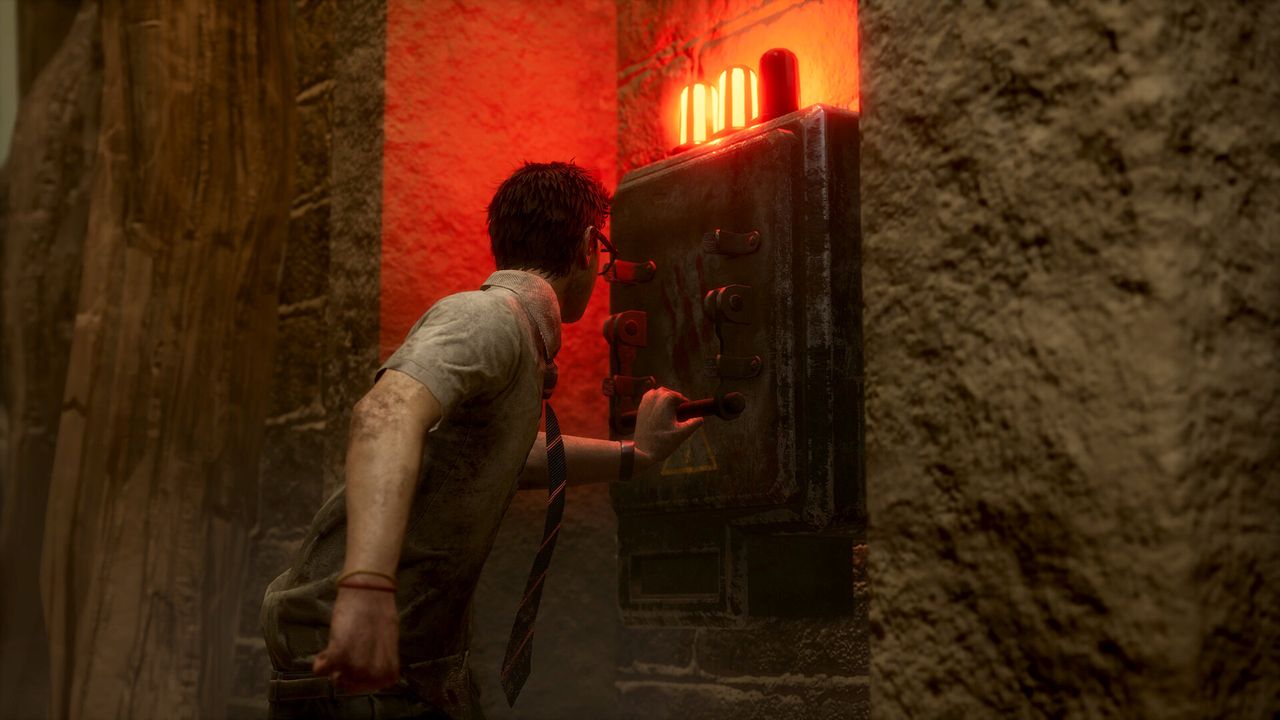
Each trial spawns seven generators on the map, and Survivors must repair five of them to power the two exit gates. Hold the action button near a generator to begin repairing — your character will automatically work on it and the generator's progress tracks visually as a percentage meter.
A standard generator requires 90 charges to fully repair, which translates to 90 seconds of continuous solo repair at base speed (no perks or items). Generators make noise while being repaired — a repeating mechanical sound — that can alert the Killer if they're nearby. When a generator completes, a burst of sparks and a loud audio cue announces it to every player on the map, including the Killer.
You can stop repairing at any time by releasing the action button or being interrupted by the Killer. The generator holds its current progress — nothing is lost by interruption alone. If the generator is kicked by the Killer, it begins regressing.
02Skill Checks
While repairing (and while performing other actions like healing), skill checks appear randomly as a circular prompt with a rotating needle and a highlighted zone. Hitting the highlighted zone successfully completes the skill check.
- Good Skill Check: The needle lands in the outer highlighted zone. The repair progresses normally with no bonus or penalty.
- Great Skill Check: The needle lands in a smaller inner zone within the highlighted area. In addition to the normal repair progress, you gain a +1% bonus to generator progress — small but meaningful over many skill checks.
- Failed Skill Check: You miss the zone entirely. The generator loses 10% progress instantly, your repair pauses for 3 seconds, and an audio and visual notification alerts the Killer to your location. Failing a skill check in a risky position (the Killer nearby) is one of the most costly mistakes a Survivor can make.
- Skill check frequency: Skill checks appear at semi-random intervals during repair. Certain perks (Hyperfocus, Stake Out) and add-ons can increase skill check frequency or modify the hit zones.
Training to hit skill checks reliably is a basic skill most players develop naturally. If you're missing them consistently, slow down your focus and watch the needle's rotation speed — the needle does not speed up mid-check, so you can anticipate its arrival in the zone.
03Multi-Survivor Efficiency
Multiple Survivors can repair the same generator simultaneously, which speeds up completion but not as much as you might expect. The game applies a -15% efficiency penalty to each Survivor for each additional person repairing alongside them.
- 1 Survivor: 90 seconds (100% efficiency).
- 2 Survivors: Approximately 53 seconds. Each person repairs at 85% of their base rate, but two people working together still beats one by a significant margin.
- 3 Survivors: Approximately 43 seconds. Each person repairs at 70% base rate.
- 4 Survivors (all on one gen): Approximately 41 seconds. Each person repairs at 55% base rate — this is extremely inefficient compared to spreading out across two generators.
The practical takeaway: two Survivors per generator is the sweet spot in most situations. It's significantly faster than solo repair and far more efficient than packing three or four onto a single gen. Spreading your team across two generators simultaneously is almost always better than clustering everyone on one — unless a generator is nearly complete and just needs one more person to push it over the line.
The perk Prove Thyself (Dwight Fairfield) offsets this penalty by adding 6/8/10% repair speed per other Survivor within 4 metres depending on perk tier, up to a maximum of 18/24/30% at Tier III, and extends the bonus to nearby teammates even if they don't have the perk equipped themselves. It turns two-person repair into a significant speed advantage.
04Generator Regression
When a Killer presses the action button near an unattended generator, they kick it. Kicking a generator:
- Removes 5% progress instantly.
- Starts automatic regression at a rate of 0.25 charges per second (roughly 0.25% per second) — slow but continuous.
- Sends a notification to the Killer when the generator's progress level changes significantly.
Survivors must repair a regressing generator for a minimum of +5% progress to stop the regression. If you touch a regressing gen and add less than 5% before stepping away, it resumes regressing once you leave.
Regression is uncapped — a generator can regress all the way to 0% if left unattended long enough. In practice, generators regress slowly enough that a single Survivor can stop regression and rebuild progress, but a Killer who patrols multiple generators and kicks each one forces Survivors into reactive repair cycles rather than forward progress.
The Killer must physically travel to each generator to kick it. Each generator has a regression event limit of 8 (kicks and Killer regression-perk effects both count towards it) — spikes start appearing on the generator from the fourth event onward, and once the eighth is reached, the Entity's spikes block the Killer from interacting with that generator again (Survivor skill check failures still regress it regardless of this counter). Perks like Pop Goes the Weasel (clown) and Corrupt Intervention add additional regression or blocking mechanics on top of basic kicks.
05The 3-Gen Situation
One of the most dangerous late-game scenarios for Survivors is the 3-gen. This occurs when only three generators remain unrepaired and they are in close proximity to each other — forming a triangle the Killer can defend by patrolling between them.
In a 3-gen situation the Killer can kick each generator in sequence and patrol the cluster. Any generator Survivors try to push will be within range for the Killer to interrupt the chase and kick it again. It is extremely difficult to complete a generator out of a 3-gen cluster without losing a Survivor in the process.
How to avoid a 3-gen:
- Early in the trial, identify which generators are clustered. The perk Deja Vu continuously reveals the auras of the three generators currently closest to each other, automatically updating to a new trio as they're completed, and adds a 4/5/6% repair speed bonus on them depending on perk tier — this directly helps you break up clusters by completing one of the three early.
- Spread your early-game repair pressure across different areas of the map rather than completing generators in a single quadrant. Completing generators that are far from each other leaves no compact cluster for the Killer to defend.
- If you are already in a 3-gen, consider trying to complete the most isolated generator of the three first to break the cluster, even if it's harder to reach safely.
06Best Generator Perks for Survivors
- Prove Thyself (Dwight Fairfield): Adds 6/8/10% repair speed per other Survivor within 4 metres depending on tier, up to 18/24/30% at Tier III, and extends the bonus to nearby teammates even without the perk equipped. Makes two-person repair significantly faster and is the most consistent gen perk in solo queue.
- Hyperfocus (Rebecca Chambers): Each Great Skill Check while repairing or healing grants a token, up to 6. Tokens make Skill Checks trigger more often and spin faster (+4% each, up to +24%), and scale up the bonus progression from a Great hit (10/20/30% of its base value per token depending on tier, up to +60/120/180% at max stacks). Hitting a Good Skill Check, missing one, or getting interrupted resets all tokens — high risk, high reward for players who can chain Greats consistently.
- Stake Out (David Tapp): Staying within the Killer's Terror Radius without being chased earns a token every 15 seconds, up to 2/3/4 depending on tier. Each token converts your next Good Skill Check into a Great Skill Check (plus a small extra progression bonus) at the cost of the token. Pairs directly with Hyperfocus to keep chaining Great Skill Checks and maintain high repair speed.
- Deja Vu: Continuously reveals the auras of the three generators currently closest to each other, automatically switching to a new trio as they're completed, and gives a 4/5/6% repair bonus on them depending on tier. Primarily a map-awareness and anti-3-gen perk, though the repair bonus is a real secondary benefit.
- Toolboxes: Toolboxes are Items (found in chests or brought from the lobby) that boost repair speed while equipped and held, at the cost of a limited charge pool. A base Toolbox gives +50% repair speed. The add-on Brand New Part no longer completes a generator instantly — it triggers a single difficult Skill Check (no Good-hit zone, only Great or Fail) that, on success, permanently reduces that generator's remaining repair requirement by 10 charges before the add-on is consumed. Still a strong single-gen boost, just not an instant-complete button.
FAQ
How long does it take to repair a generator in Dead by Daylight?
A single generator requires 90 charges, which takes 90 seconds to repair solo at base speed with no perks or items. With two Survivors (each penalized 15% for the group), the total drops to approximately 53 seconds. With a toolbox (+50% repair speed), solo repair drops to around 60 seconds. Perks like Hyperfocus can push a skilled solo player's effective speed further by boosting the bonus from Great Skill Checks.
What happens when you fail a skill check on a generator?
A failed skill check removes 10% of the generator's total progress (9 charges out of 90), pauses your repair action for 3 seconds, and sends an alert to the Killer showing your location. In the early trial when the Killer doesn't know where you are, a failed skill check can result in them heading directly to you. The alert is one of the most consequential individual mistakes a Survivor can make, so developing reliable skill check timing is a priority for any new player.
Should you repair a generator alone or with teammates in Dead by Daylight?
Two Survivors per generator is the ideal split in most situations — it's dramatically faster than solo repair and more efficient than three or four on a single gen. In coordinated SWF play, the ideal is two Survivors on two generators simultaneously (two pairs). In solo queue this is harder to achieve, but still the general target. Avoid clustering three or more Survivors on the same generator unless it's the final one and speed is critical.
How does generator regression work in Dead by Daylight?
When a Killer kicks a generator, it immediately loses 5% progress and begins regressing at approximately 0.25% per second. Regression is continuous and uncapped — a generator can regress all the way to 0% if never attended. Survivors must repair a regressing generator for a minimum of +5% progress to stop the regression. If you apply less than 5% and step away, it resumes regressing from where you left off.
What is a Brand New Part in Dead by Daylight?
Brand New Part is a toolbox add-on that no longer completes a generator instantly — that version of the add-on was reworked in a past balance update. In its current form, using it next to a generator triggers a single difficult Skill Check with no Good-hit zone, only Great or Fail. Succeeding permanently reduces that generator's remaining repair requirement by 10 charges (out of 90) before the add-on is consumed. It's still a useful one-time boost to a single generator, just not an instant-complete button.
Sources
Where the facts on this page were checked. If one of them now says something different, we want to know — tell us and we will fix the guide.
- Generators Dead by Daylight Wiki (wiki.gg)
- Skill Checks Dead by Daylight Wiki (wiki.gg)
- Prove Thyself Dead by Daylight Wiki (wiki.gg)
- Brand New Part Dead by Daylight Wiki (wiki.gg)
- Hyperfocus Dead by Daylight Wiki (wiki.gg)
- Déjà Vu Dead by Daylight Wiki (wiki.gg)
- Stake Out Dead by Daylight Wiki (wiki.gg)
- Toolbox Dead by Daylight Wiki (wiki.gg)
- 10.1.1 Bugfix Patch Behaviour Interactive (BHVR forums)
New & updated guides ship every week. Follow the Atom feed or get notified when new Dead by Daylight guides land.